
Tech
How to get Linux on your Apple silicon Mac: A dual-boot guide
There aren’t that many options for running Linux on an Apple Silicon Mac, but you can do it. Whether you want to install it on your internal SSD as a genuine dual-boot setup or run it inside a virtual machine, here’s how to get started.
Dual boot with Asahi Linux
To install Linux on the internal drive on your Mac, you need to use Asahi Linux. It’s based on Fedora, so it will be somewhat familiar if you’ve used Linux before. There are limitations, though.

It currently only runs on M1 and M2 Macs, and not all features are available on every machine. You can check out the compatibility guide to see how well your Mac is supported.
You’ll need to dedicate a sizable chunk of your SSD to the installation. You need at least 30GB to get it up and running, and I’d recommend up to 100GB to use it properly. It’s a tight squeeze on a 256GB Mac.
Fortunately, Asahi Linux is easy to install. You should back up your Mac before you begin. The process is pretty safe, but it still involves re-partitioning your SSD, so you want a backup just in case. Once done, you’re ready to get started.
Open the Terminal app through Spotlight, and type in the following command:
curl https://alx.sh | sh You’re prompted to enter your “sudo” password. This is your Mac’s regular password. Now follow the onscreen instructions.
First up is partitioning. Enter “r” to start the process. Type in how large you want your existing macOS partition to be, either in GB or as a percentage, or type “min” to make it as small as possible. I went with the latter because I’m working with limited space.
Type “y” and hit Enter to start partitioning. It takes several minutes.

Once it’s done, hit Enter again. You’re now asked where your new OS should be installed. Type “f” to select your newly created empty partition. Next, you’re asked which OS you want to install. Choose either the KDE or GNOME options.

Lastly, specify how much of the free space you want to use for the OS. I entered “max” to use it all. Give it a name and hit Enter, and installation will begin.
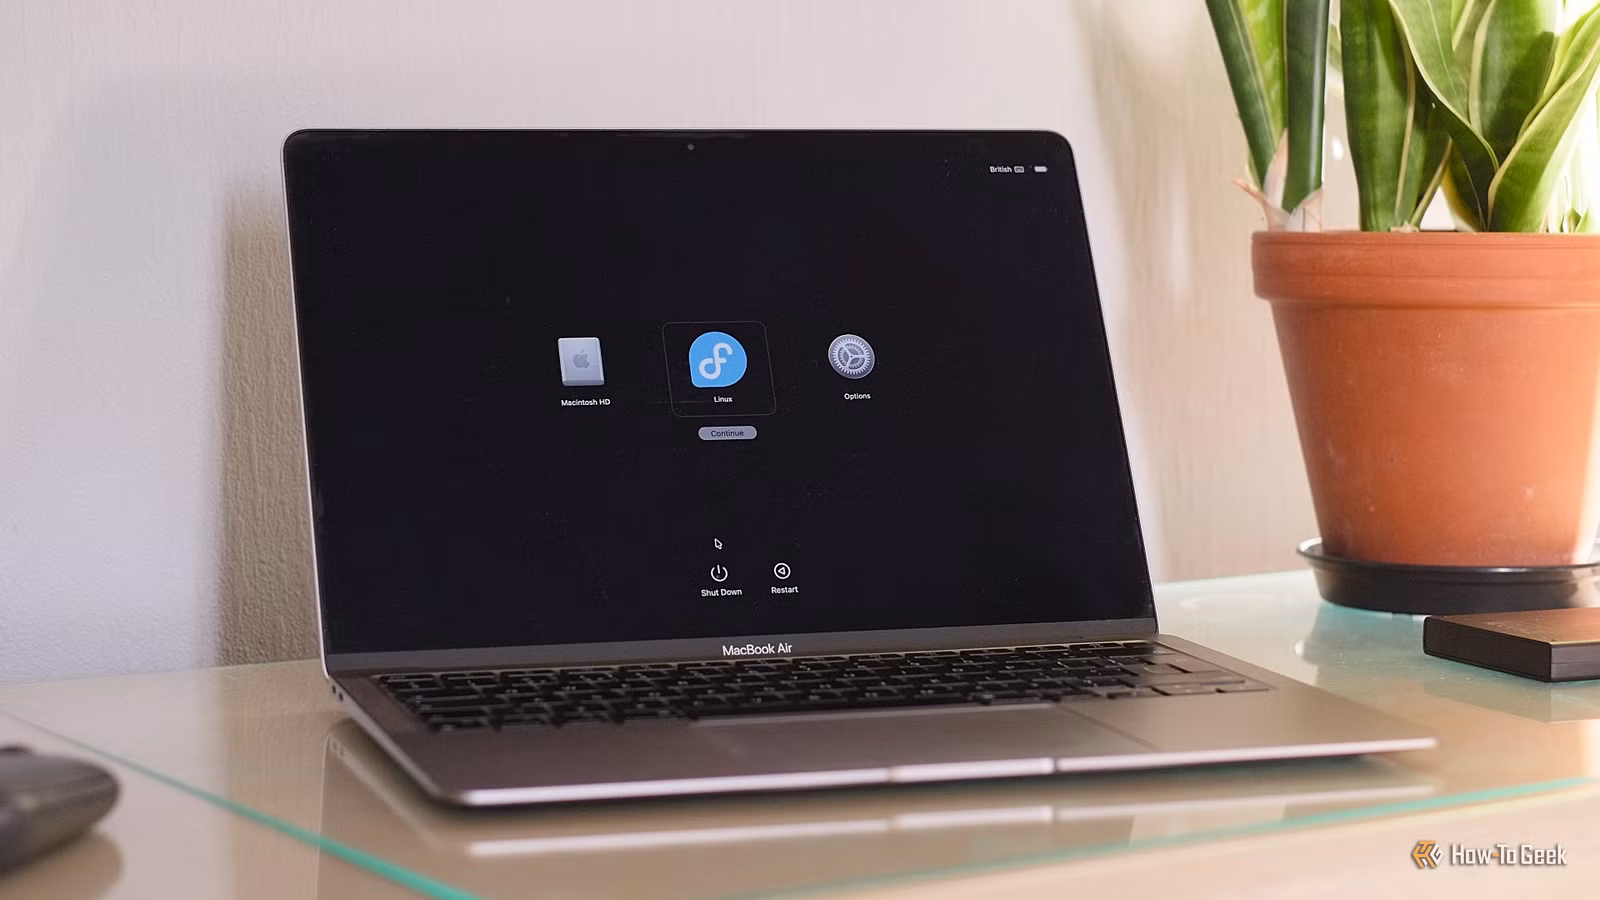
Enter your password again, and you’re almost done. The final step is important. When the Mac turns off, wait at least 25 seconds, then press and hold the power button until you see the startup options. Don’t do it quicker, and don’t press the button twice.

When you see the startup menu, select your new OS to continue. Follow the final steps, entering your password when prompted, including at a macOS recovery screen. You can now set up your new Linux OS.

To boot into macOS next time, hold down the power button until you see the startup options.
To change the default OS, boot into macOS, go to System Settings > General > Startup Disk, and select macOS. To uninstall Asahi Linux, change the default OS, and then you can go into Disk Utility and delete the Asahi Linux partitions.

Run Linux in a virtual machine
For most people, it will be easier to run Linux through a virtual machine. This will mean you can use it on any Apple Silicon Mac without any of the compatibility issues, and you can run it from an external drive. You also get a lot more choice about which distro you want to use.
The issue to consider here is that the VM runs within macOS, so it’s very heavy on RAM. Your computer is effectively running two operating systems at the same time. Although it’s possible to do it on an 8GB machine, you’ll be better off with at least 16GB.
There are several virtual machine programs you can use. Parallels is the most popular paid option. VMWare Fusion is also paid, but you can grab it for free. But for the purpose of this task, I’m using UTM, which is free and very simple to set up.
Install and launch UTM. The easiest place to start is with a pre-built Linux image. In the app, go to “Browse UTM Gallery,” select a Linux distro, and make a note of the username and password. I’m using Ubuntu 22.04.

When it has finished downloading, unzip it, and you’ll have a file with the .UTM extension. Simply double-click it to launch, then hit the Play button in UTM to boot your Linux virtual machine. It launches in a window, so switch to full screen for the best results.

To tweak the setup, exit the VM, then right-click it in the sidebar and select “Edit.” Here, you can adjust how much storage or memory it uses, along with countless other options.

Alternatively, you can use any other ARM-based Linux distro instead. Download it, then open the app and click “Create a New Virtual Machine.” Select “Virtualize” on the next screen, followed by “Linux.” Finally, click “Browse” to find the distro you downloaded. Our guide to using UTM has more information on how to configure the settings best.

Running Linux is possible on Apple Silicon
An Apple Silicon Mac isn’t the best for running Linux right now, but you can still do it effectively. For most people, a virtual machine is the way to go. You get a wider choice of distros, and you can do it on every Mac. It works well, too. It’s fast and stable, and gives you full access to the tools you want on a Linux system.


