
Tech
How to set up mailbox alerts with Home Assistant and a cheap sensor
Why walk all that way to the mailbox only to be disappointed when it’s empty? With this smart home automation, you’ll know exactly when you’ve got mail because Home Assistant will tell you.
You can get as creative as you like with this, from a simple ping to that classic ’90s AOL “you’ve got mail” soundbite.
Battery-powered motion sensors work a treat
There are a few different ways you can go when setting up a mail alert, using a variety of different sensors. A tilt sensor attached to the mail flag might work, but not everyone has a mail flag (it’s definitely not a thing here in Australia). Vibration sensors are also an option, assuming they’re sensitive enough to detect even the lightest of letters arriving.

If you have a camera pointed at the front of your property, you could probably use object detection to identify a mail worker and get notifications that way, too. As good as these sound, I settled on a cheap and dependable solution that uses a simple battery-powered motion sensor.
I went for the IKEA Vallhorn ($13), a Zigbee motion sensor that works perfectly with Home Assistant using the Zigbee Home Automation or Zigbee2MQTT integrations and pretty much any coordinator device. It’s powered by two AAA batteries (IKEA recommends its own brand of rechargeables), and it comes with a mount that you can screw or stick in place.
IKEA is in the process of replacing the Vallhorn with the Myggspray as the company switches to Matter over Thread, so if you have a Thread network, you should be able to pick up an inexpensive motion sensor sometime in early 2026.
The main thing to be aware of is range, since Zigbee and Thread devices can vary wildly depending on the conditions. In my case, the mailbox is only around 30 ft (10 m) away from a Zigbee repeater. Z-Wave might be a better choice if you have a mailbox that is significantly further away from your house (adapters like the ZWA-2 can reach up to a mile).
Whichever protocol you end up using, you can extend most mesh networks by adding inexpensive “router” devices in the form of powered plugs and lightbulbs.
Sensor placement is key
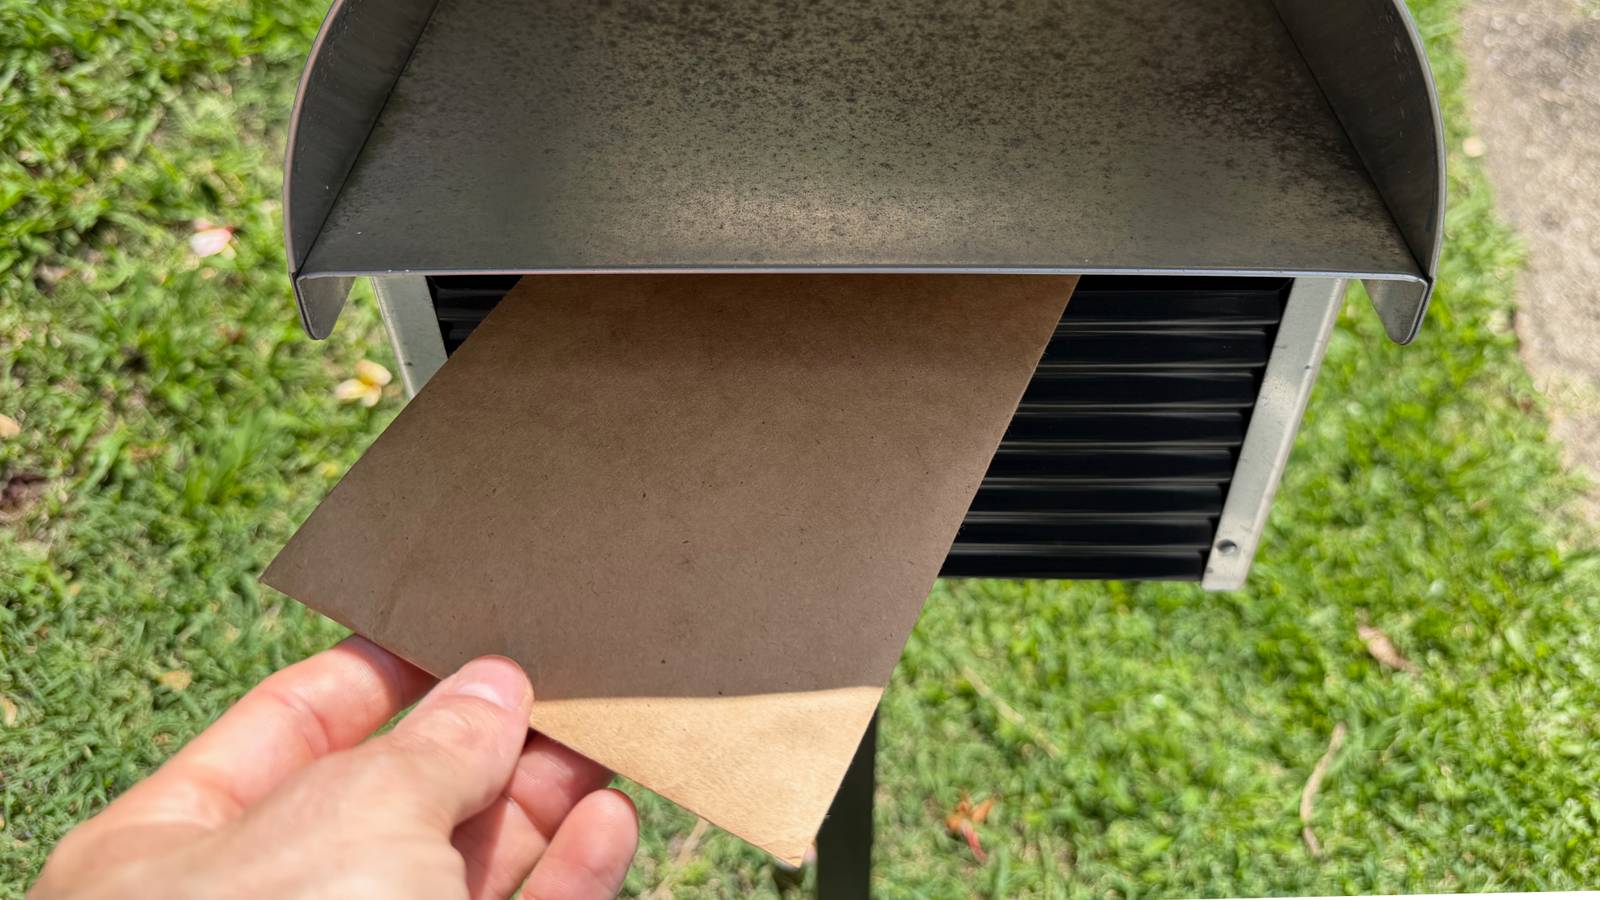
Getting your mailbox to reliably detect motion isn’t hard, but it does require a bit of trial and error. I took the sensor out to the mailbox along with my iPhone running the Home Assistant app and an envelope, to do some testing and gauge where I should best place the sensor for a reliable reading.
I first tried putting the monitor at the back of the mailbox, facing forward, but the results were inconsistent. Instead, I settled on placing the sensor directly underneath the mailbox opening, causing letters to fall directly onto it and triggering a reliable reading every single time. I could probably have received similar results by mounting the sensor directly above this area, too.

The best positioning depends on what your mailbox looks like, whether you can drill into it or reliably stick the sensor in place, and what sort of weather conditions you’re expecting. I live in a warm climate, so I’m not too worried about sub-zero conditions killing my sensor or snow melting on it. You might want to invest in a sturdier, more weather-proof option if that’s a concern.
After a few minutes of posting letters through my own mailbox like a weirdo, I headed back inside to set up the automation.
Writing the Home Assistant automation
Head to Settings > Automations & scenes and click “Create automation” to get started. Find your sensor and use the “started detecting motion” trigger as your “When” action.
Now decide what happens. A mobile notification makes a lot of sense, which you can trigger as long as you’ve added the Home Assistant companion app and set it up correctly. Other good options are turning on a light or playing a media file on your smart speakers. Add the “you’ve got mail” AOL notification sound to your media library and call it using the Media player > Play media action.

Another important consideration is how you deal with false positives. Your motion sensor is going to trigger when you collect the mail, too, so you might want to add a condition using the “If” section that limits this automation between certain times of day when you know that the mail is delivered. That way, you won’t get notified when you get home from work at 5 pm.
I settled on two automations, since I work from home and often check the mail during the day. The first is an automation that registers motion, sends me a notification, and then turns itself off. To do this, I first had to create the automation, save it, and give it a name (like “Mailbox Trigger). I then edited the automation and added an additional action to the end using Other actions > Automation > Turn off (pick “Choose entity” and pick the automation you just created).

Lastly, I created an automation that turns on the main “Mailbox Trigger” automation every day at 6 am so that the automation is good to go.
You could get even deeper and use a door or window sensor to receive a notification that someone has checked the mail, too. The sky really is the limit.
While mailbox notifications are handy, they’re not going to save you thousands of dollars quite in the same way that some other sensors can.


