


If your iPhone 14 won’t turn on, the most likely cause is one of three things: the battery is completely drained, the device is frozen on a black screen due to a software glitch, or a charger or charging port issue is preventing it from powering up at all. As long as there is no physical drop damage or liquid exposure involved, you can almost certainly fix this yourself — no tools required.
These steps apply to iPhone 14, iPhone 14 Plus, iPhone 14 Pro, and iPhone 14 Pro Max. The hardware buttons and fix sequence are identical across all four models.
Quick Take: Start by charging for at least 30 minutes with a known-good cable before assuming something is wrong. If it still won’t respond, do a force restart — this fixes the majority of black screen and software freeze cases with no data loss. If neither works, move to Recovery Mode via a computer. Physical or liquid damage is the only scenario that requires a technician.
Before You Begin
Two things to check before touching any buttons. First, make sure you are not looking at a failed screen on a phone that is actually powered on — some iPhone 14 units show a completely black screen due to display failure while the phone itself is running normally. If you can hear a ring tone or vibration when someone calls, the phone is on and the screen is the issue, not the power. Second, if your iPhone was recently dropped in water or exposed to liquid, Apple’s official handling guidance is clear: do not attempt to charge or connect any accessory until the device is completely dry — wait at least 5 hours. Plugging in a wet iPhone can cause additional internal damage.
Step 1: Charge It for at Least 30 Minutes

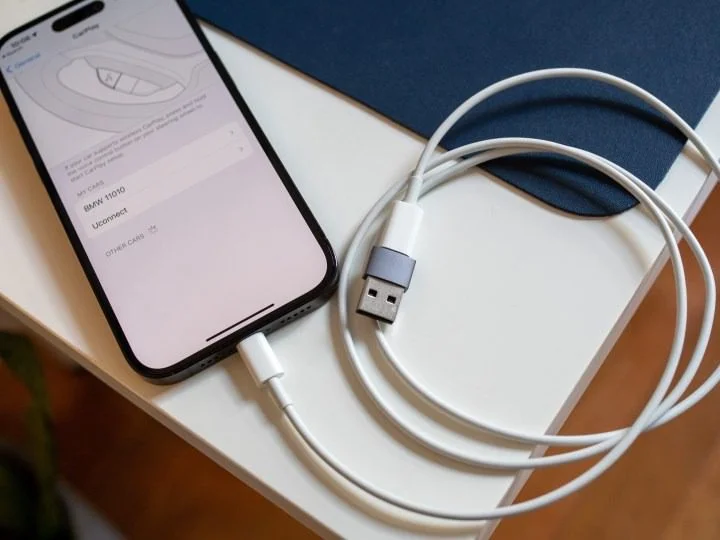
Use the cable that came with your iPhone, or an Apple-certified (MFi) cable and wall adapter — not a computer USB port, which often delivers inconsistent power. Plug it in and wait.
If the battery is deeply drained, the screen may stay completely black for the first 5–15 minutes. That is normal. After a few minutes, you should see either a red battery icon (very low charge) or the charging icon (battery outline with a lightning bolt). If you see the red icon, leave it charging for a full 30 minutes before attempting anything else. Do not interrupt the charge cycle by pressing buttons during this window.
If the screen shows nothing at all after 30 minutes — no charging icon, no response — move to Step 2.
Step 2: Force Restart Your iPhone 14

A force restart clears a software freeze or a stuck boot process without deleting any of your data. This is the most effective single fix for an iPhone 14 that shows a black screen or won’t respond. Apple’s official force restart instructions for all current iPhones are as follows:
- Quickly press and release the Volume Up button.
- Quickly press and release the Volume Down button.
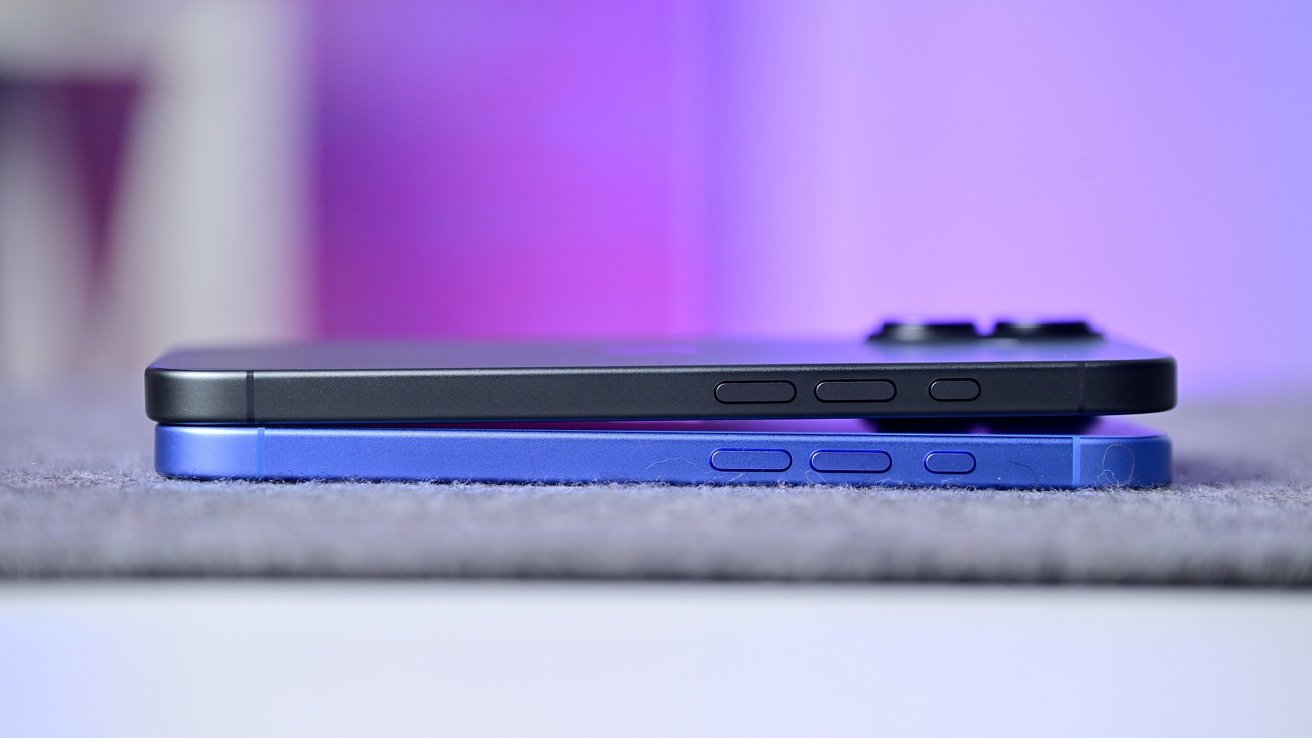
- Press and hold the Side button (the button on the right edge of the phone) until the Apple logo appears — then release.
The most common mistake here is releasing the Side button too early. When you press and hold it, you will first see a “slide to power off” prompt on screen. Do not release the button. Keep holding through the prompt. The screen will go black, and then the Apple logo will appear. This can take up to 20 seconds. Once the Apple logo shows, release the Side button and wait for the phone to finish booting.
If the first attempt does not work, try the sequence again two or three times before concluding it won’t work. The timing needs to be precise — the Volume Up and Volume Down presses need to be quick, not held.
Step 3: Inspect the Charger and Charging Port
If the phone responded to neither charging nor the force restart, the charger or port may be the problem. Check the cable for visible fraying or damage, and try a different wall adapter if you have one available.
For the charging port itself, shine a flashlight into it and look for compacted lint or debris — this is a surprisingly common cause of charging failure, especially in phones carried in pockets or bags. To clean it safely: use a dry soft-bristled toothbrush or a can of compressed air. iFixit’s port cleaning guide and Apple’s own guidance both specify the same caution: do not use metal tools, toothpicks, or pins inside the port. The pins inside the Lightning connector are fragile, and bending them means a port replacement. A few careful passes with a dry brush is all that is needed in most cases.
After cleaning, plug in again and wait 5 minutes before moving on.
Step 4: Use Recovery Mode to Fix a Software Problem
If the phone still won’t respond after charging and multiple force restart attempts, the next step is Recovery Mode — a built-in iOS diagnostic state that lets you reinstall iOS software from a computer without losing your data (if you choose “Update” rather than “Restore”). This is the correct escalation path for a device stuck in a boot loop, frozen on the Apple logo, or completely unresponsive after a software update.
You will need a Mac running macOS Catalina or later (uses Finder) or a Windows PC with the latest version of iTunes installed, plus a Lightning cable.
- Connect your iPhone to the computer with the Lightning cable and open Finder (Mac) or iTunes (Windows).
- Quickly press and release Volume Up.
- Quickly press and release Volume Down.
- Press and hold the Side button — but this time, keep holding past the Apple logo until you see the recovery mode screen (a cable icon pointing to a laptop). Then release.
- In Finder or iTunes, select your iPhone when it appears.
- Choose Update first. This reinstalls iOS without erasing your data. If Update fails or is not offered, you can then choose Restore — but be aware that Restore erases everything on the device. If you have a recent iCloud or iTunes backup, your data can be recovered afterward.
If your iPhone gets stuck in recovery mode during this process, perform another force restart (Step 2) with the cable still connected to exit it.
Step 5: Check for Physical or Liquid Damage
If none of the above steps produce any response, the problem is most likely hardware rather than software. Think back: has the phone been dropped from a significant height, submerged in water, exposed to rain, or left in a hot car? Even a short drop on a hard surface can dislodge internal components without leaving visible exterior damage.
Liquid damage is a particularly difficult scenario. The iPhone 14 has an IP68 water resistance rating, which means it can handle accidental splashes and brief submersion — but it is not waterproof, and even rated devices can suffer internal damage depending on the liquid, depth, and duration of exposure. If liquid damage is suspected, book a service appointment through Apple rather than attempting to charge, power, or dry the device with external heat. Unauthorized drying methods (rice bags, blow dryers, direct sunlight) can cause additional damage and may complicate a repair assessment.
Overheating is a separate issue: if the iPhone was left in direct sunlight or a hot vehicle, move it to a cool, shaded location and wait 30 minutes before attempting to power it on. Do not put it in a freezer — rapid temperature change creates condensation inside the device.
When These Steps Won’t Help
Software fixes — force restart, recovery mode — will not resolve hardware failures. If your phone has visible screen cracks, a damaged charging port that cannot be cleaned, swollen battery symptoms (a slightly bowed back panel), or confirmed water ingress, these require physical repair. Understanding your Apple warranty and repair options before you walk into an Apple Store or authorized service center will save time and set realistic expectations on cost.
If you are outside your Apple warranty period, an independent repair shop is a legitimate alternative for issues like port replacement or screen repair, though it will void any remaining warranty coverage.
Key Takeaways
- A deeply drained battery may show no response for up to 15 minutes after plugging in — always charge for a full 30 minutes before assuming a bigger problem.
- The force restart is the most effective single fix for iPhone 14 black screen and software freeze issues. The most common reason it fails is releasing the Side button when the “slide to power off” prompt appears — keep holding past it.
- Recovery Mode (via Finder or iTunes) is the correct next step when force restart alone doesn’t work — try “Update” before “Restore” to avoid unnecessary data loss.
- Liquid-exposed iPhones must not be charged for at least 5 hours — attempting to charge a wet device can cause permanent damage.
- If none of the software steps produce any response, the issue is hardware, and a professional assessment from Apple or an authorized repair provider is the right call.
Frequently Asked Questions
Will a force restart delete my photos and apps?
No. A force restart is equivalent to pulling the battery on a device — it cuts power and forces a reboot. No data is written or erased during the process. Your photos, messages, and apps will be exactly as you left them when the phone boots back up.
My iPhone 14 shows only a red battery icon — is something wrong?
A red battery icon means the battery charge is critically low but the device is responding to power. Leave it charging for at least 30 minutes before pressing any buttons. Trying to force restart a phone in this state often fails simply because there is not enough charge to complete the boot sequence.
The force restart sequence is not working no matter how many times I try. What am I doing wrong?
The two most common errors are: (1) holding Volume Up or Volume Down instead of pressing and quickly releasing them, and (2) releasing the Side button when the “slide to power off” screen appears. The presses must be quick — less than a second each. Then hold the Side button continuously for up to 20 seconds, past the slider, until the screen goes black and the Apple logo appears. If timing is the issue, try performing the sequence slightly faster.
Can I use iCloud to fix an iPhone that won’t turn on?
Not directly. iCloud’s Erase iPhone feature (via iCloud.com or the Find My app) sends a remote erase command, but the device must be online to receive and execute it. A phone that is powered off or completely unresponsive cannot receive that command. The fix will queue and execute the next time the phone connects to the internet — but that doesn’t help you get it back on. Recovery Mode via a computer is the correct software-level fix for an unresponsive device.
My iPhone 14 got wet recently and now won’t turn on. What should I do?
Do not charge it. Apple’s handling guidelines specify waiting at least 5 hours after liquid exposure before connecting any cable or accessory. Do not use rice, a hair dryer, or direct heat — these can cause condensation or heat damage. Leave the phone in a dry, room-temperature environment and allow it to air dry naturally. If it still won’t power on after drying, contact Apple or an authorized service provider for a physical inspection.
What is the difference between Recovery Mode and DFU Mode?
Recovery Mode reinstalls iOS while keeping the bootloader intact — it is the right first choice because it has a lower chance of complications and can restore data from a backup. DFU (Device Firmware Update) Mode performs a deeper reinstall that replaces both the iOS software and the device firmware. DFU mode is a last resort before hardware repair — it erases everything and is harder to exit if something goes wrong. Try Recovery Mode first; move to DFU mode for iPhone only if Recovery Mode fails.
How long does Recovery Mode restoration take?
Typically 15–30 minutes for the “Update” option, depending on your internet speed (the firmware file is several gigabytes) and your computer’s processing speed. Do not disconnect the cable during the process — interrupting a restore can leave the device in a non-bootable state and require the process to be started over.


You must be logged in to post a comment Login