Tech
Building a Fully Adjustable LEGO Monitor from a Broken Laptop
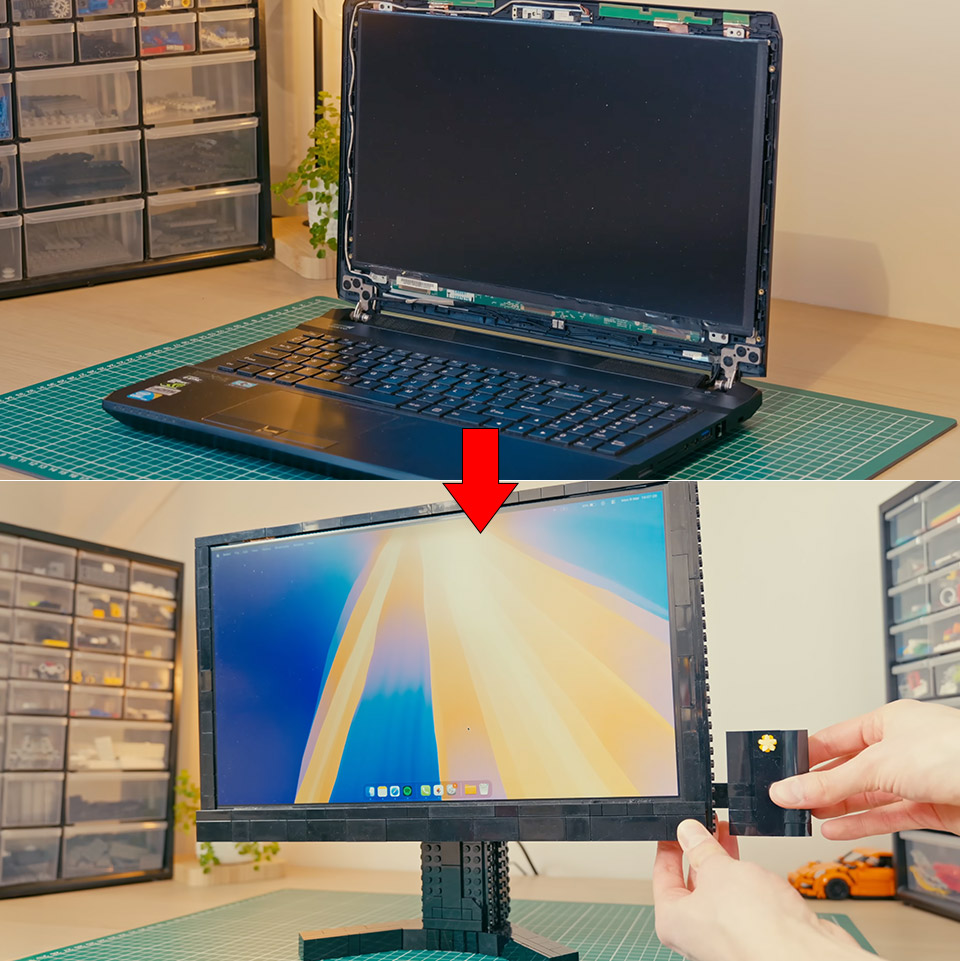
An old laptop that had served for more than six years suddenly shut down mid-game and refused to power on again. Its owner, the LEGO builder known as Koenkun Bricks, recovered the hard drives without trouble and found them intact. Rather than scrap the machine, he decided the screen still had a future as a second monitor for his desk. The plan was simple on paper: free the LCD panel, give it a proper controller so it could accept a standard HDMI signal, and enclose everything in LEGO so the whole unit could tilt, rise, and spin as needed.


Opening the laptop proved to be a much bigger hassle than expected. There were no good service manuals available for that model, and Koenkun had never taken electronics apart before, so he was in unfamiliar ground. That being stated, he proceeded with caution, slowly detaching the display from the hinges, cables, and metal frame until it sat free on the workbench. Of course, a controller board was required to translate the laptop’s internal display signal into a format that a standard computer could understand. Now, after looking all over for a board that exactly matched the panel’s model number but running into long shipping delays, the builder ended up adding a universal one to his shopping basket, which costs roughly €20 or $20. When he had everything connected in and turned on, the screen lit up right immediately.
Sale


Apple 2026 MacBook Air 13-inch Laptop with M5 chip: Built for AI, 13.6-inch Liquid Retina Display, 16GB…
- BUILT FOR COLLEGE. AND BEYOND — MacBook Air with the M5 chip packs blazing speed and powerful AI capabilities into an incredibly portable design…
- TEAR THROUGH TOUGH ASSIGNMENTS — With its faster CPU and unified memory, the M5 chip delivers even more performance and fluidity across apps, making…
- MAKE QUICK WORK OF YOUR TO-DO LIST — Apple Intelligence helps you write, express yourself, and get things done effortlessly — whether it’s for…
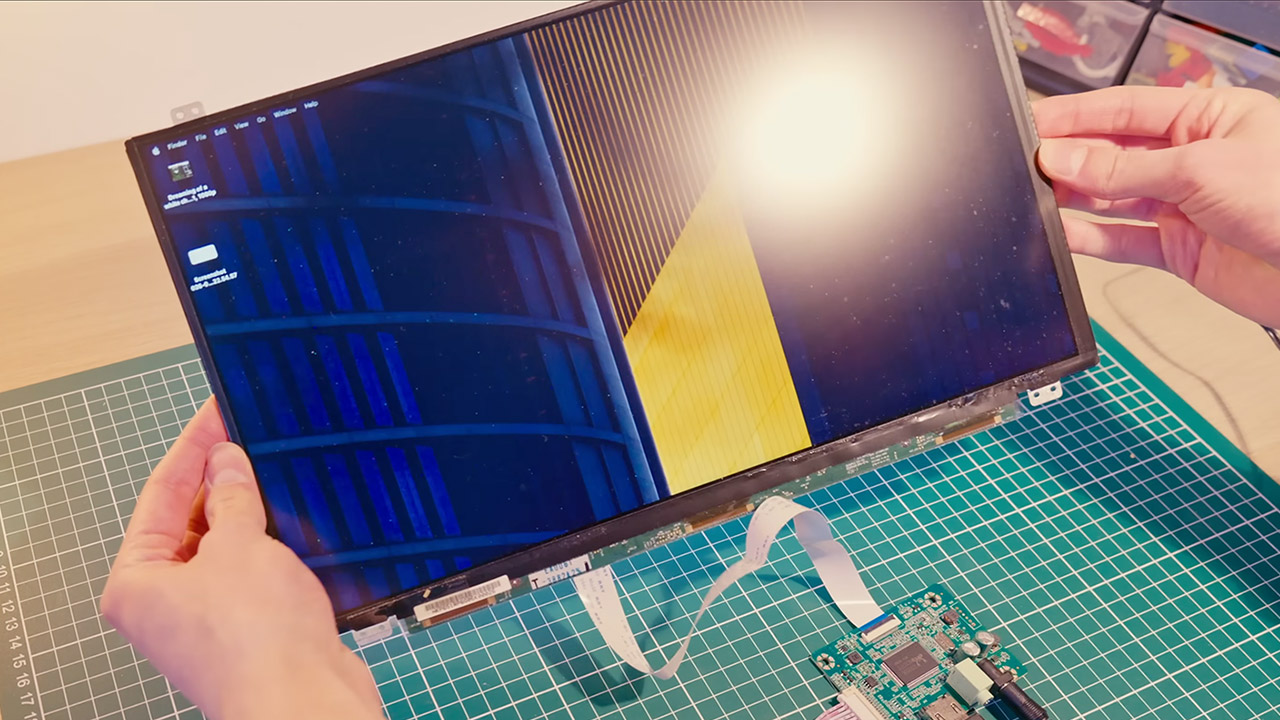
Moving white dots began to drift over the display, which the builder eventually traced back to the universal board itself. Ideally, a model-specific controller would have resolved those issues, but even the general unit demonstrated that the panel was alive and functional. The next step was to figure out how to mount that panel inside a LEGO frame, which was another issue waiting to be solved. After attempting to match the factory screw holes to LEGO bars and discovering the holes were too small, the builder took a new look at the problem. The existing plastic bezels around the panel would suffice if he could discover a way to press a LEGO structure against them from the outside. He tried a few basic frames, but they were all a catastrophe because one was too wide, another had gaps along the borders, and a third felt too shaky. L-shaped panel components ultimately provided him with the appropriate balance of strength and a clean, gap-free edge, though he had to go back through some older versions and disassemble the entire thing to get enough of them.

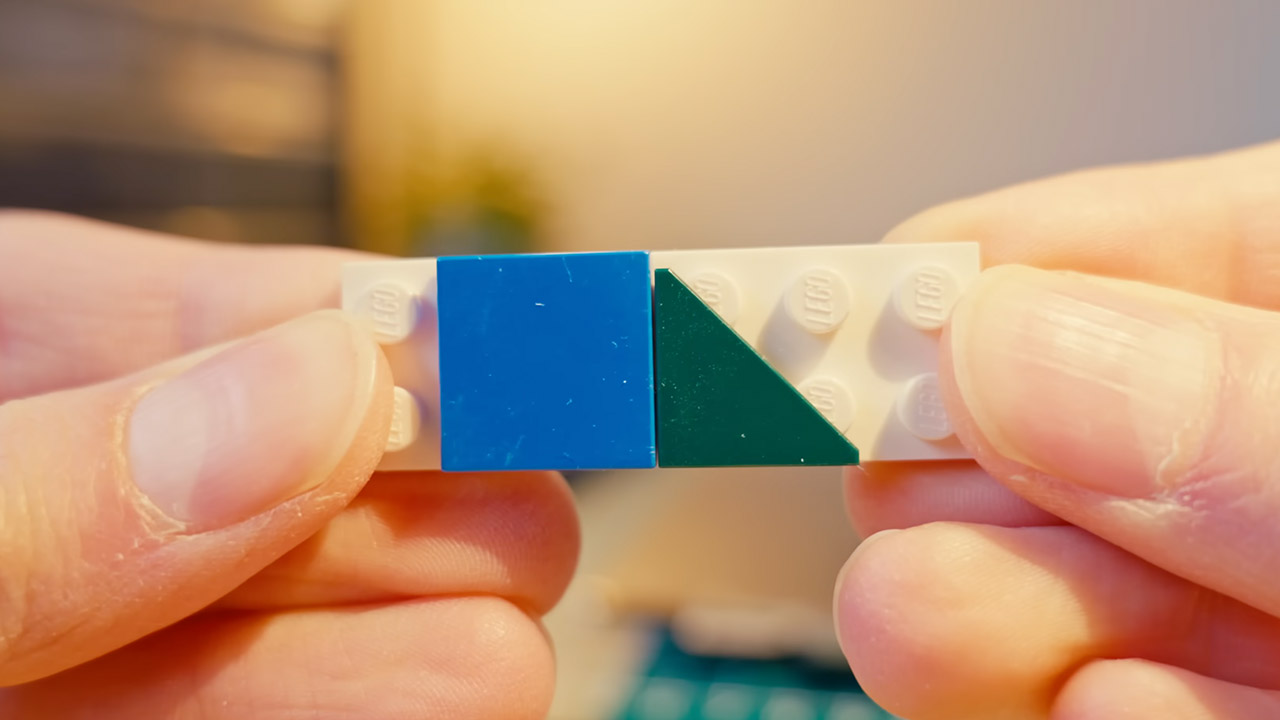
Now, each of the four sides of the laptop bezel measured slightly differently in thickness. So, to compensate, he piled tile after tile until everything was in order, and then he had some of those triangular tiles with the corners cut out nestle up into the L-panels so everything would sit flush. Beams and additional panels formed a top border, leaving spaces for the circuit boards that protruded, and the bottom edge gained some depth so those boards and the controller could sit without stressing them. Green brackets were used to hold specific pieces of metal in place, and he even incorporated a few Technic beams into the LEGO structure where the future stand would be attached.
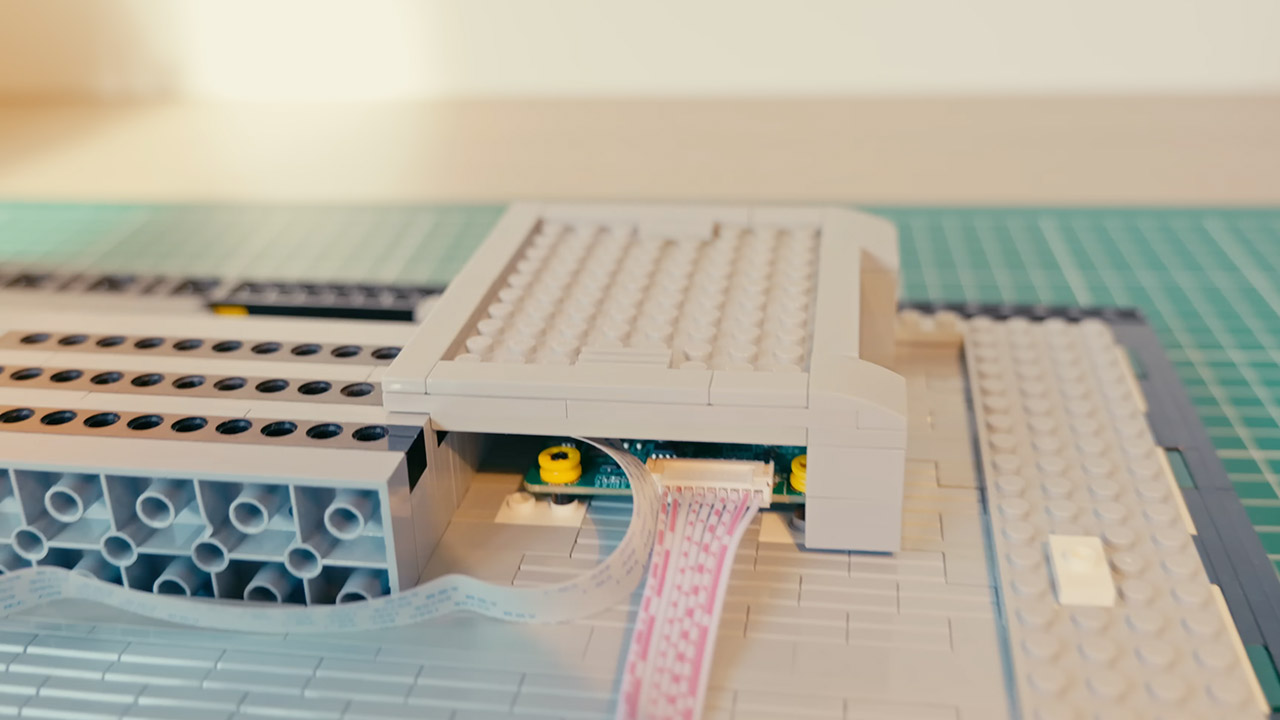
With the basic shell securely fastened, the controller board finally had a place to call home. The frame had to be disassembled once more, so in went the bricks with studs on their sides, which will hold metal standoffs that keep the board firmly in place. Technic bushings in bright yellow do the job of locking everything into place, and a simple little cover on top keeps dust out. The smaller button board, however, told a different story. He was confident it would fit onto LEGO bars, but no such luck. Some smart usage of antenna pieces kept it solid in the end, but they needed to be reinforced so they didn’t flex and shift when you pressed the buttons. Meanwhile, a little portion of the bottom bezel was replaced with a flat screen to allow for the HDMI and power cables to depart without being tangled.
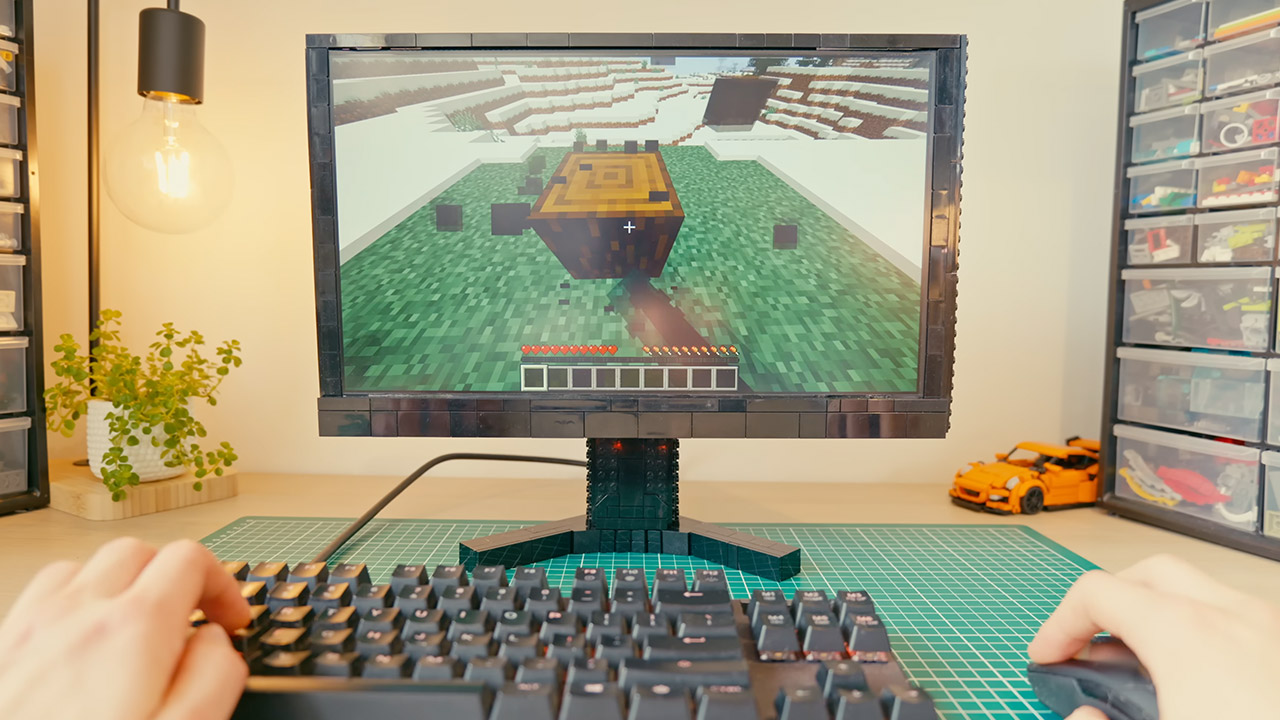
Even though the display was complete, he still need a stand that could rotate, adjust height, and remain steady throughout normal operation. A V-shaped base was roughly the start, with some LEGO tires put along the bottom borders to keep everything from sliding all over the desk. However, finding a heavy-duty turntable in the parts bin proved impossible, so he devised an other solution. In the center of it all, a large central gear serves as the mechanism’s true anchor. Then there are the smaller gears, which are mounted on friction pins all around to assist distribute the weight and keep things smooth and easy to spin. He tried an early version that only relied on a single axle, and it felt a little shaky, but with the multi-gear arrangement, everything worked out fine.
You must be logged in to post a comment Login