Tech
Custom Arm-Mounted Plasma Cannon is a Real-Life Mega Man Mega Buster


Arnold (Arnov) Sharma grew up playing Mega Man X on an ancient Windows 98 computer. Years later, he turned those hazy memories of his childhood into something he could wear on his forearm. It’s not just a replica but a functional Mega Buster, also known as the Rock Buster. Every detail on this replica stays true to the original, thanks to accurate measurements made in Fusion 360, which started with a reference image scaled to 330 mm in length.


Sharma broke down his design into components that could be printed separately, including the body, front nozzle, handle, and side panel. He ensured that all of the components fit together flawlessly, much like a jigsaw puzzle. He created the entire thing on his 3D printer using standard PLA filament, although it’s worth noting that he left opportunity for experimenting with variables like layer height and speed, which you’ll most likely need to alter depending on your printer.


Bambu Lab A1 3D Printer, Support Multi-Color 3D Printing, High Speed & Precision, Full-Auto Calibration…
- High-Speed Precision: Experience unparalleled speed and precision with the Bambu Lab A1 3D Printer. With an impressive acceleration of 10,000 mm/s…
- Multi-Color Printing with AMS lite: Unlock your creativity with vibrant and multi-colored 3D prints. The Bambu Lab A1 3D printers make multi-color…
- Full-Auto Calibration: Say goodbye to manual calibration hassles. The A1 3D printer takes care of all the calibration processes automatically…
A Raspberry Pi Pico within the Rock Buster controls the lights, music, and power. Sharma created a new PCB from scratch, soldering on SMD parts and applying SnPb 63/37 paste before reflowing everything at 200 degrees Celsius. The Type-C port and vertical push button allow you to charge it or start firing, while a dedicated power circuit powers a 3.7-volt, 1000 mAh lithium-polymer battery.

When you press the button, the front red LED begins to flicker like an in-game shot, while the internal speaker emits a recognizable whine via a PAM8403 amp, increasing the Pico’s output. When you release the button, the light bursts, the sound effect plays, and one bar drops from the six-LED side meter. After six shots, the meter is empty and you’re locked out for a 10-second cooldown, just like in the game.
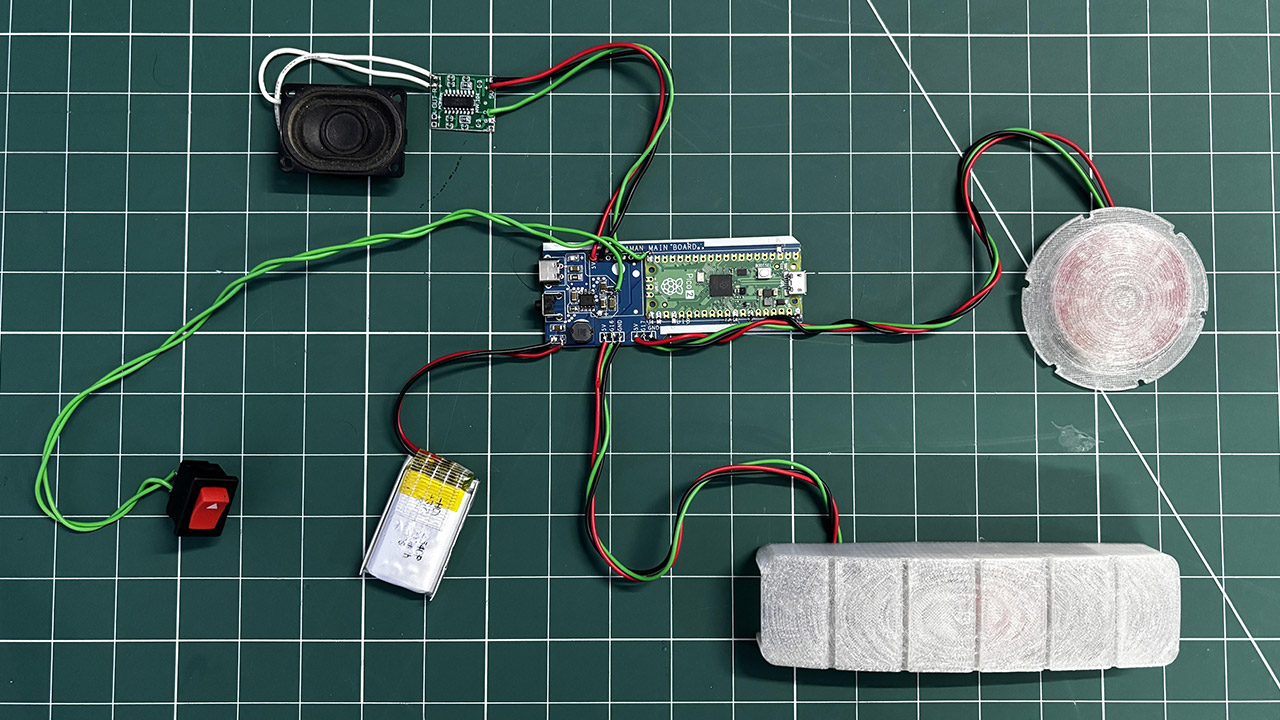
Assembling the Rock Buster begins with the PCB; simply spread some solder paste on the pads, insert the Pico and small components, and heat until they melt. Next come the port and button, then the battery terminals. Test the 5V rail with a voltmeter before encasing everything. Wiring the PAM8403 is rather simple: right input to Pico GPIO 26, ground to ground, power to 5V, and speaker to output. Any small speaker will do, but he rescued an 8-ohm 2-watt device from an old laptop, which works perfectly.

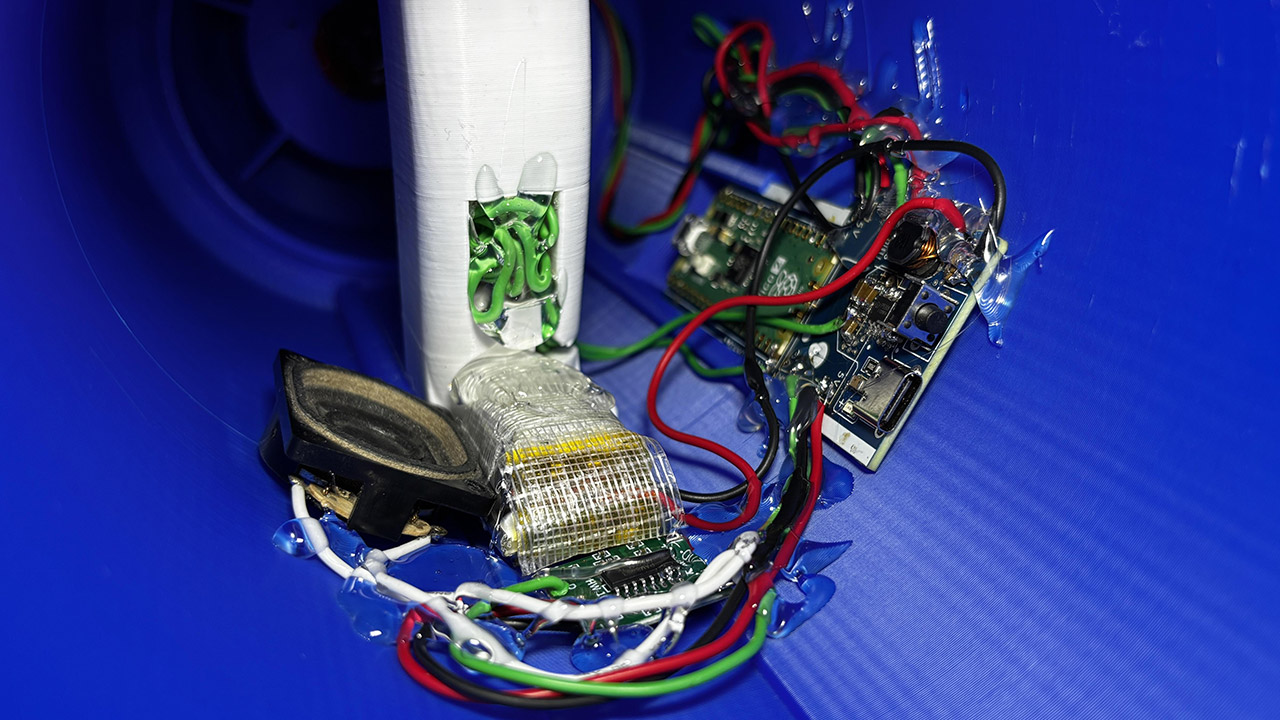
Mounting the LEDs is simple; the nozzle holds the firing LED, while the side panel houses the power meter. Sharma used available libraries for sequencing and kept things simple. Put everything together, secure with screws or whatever, and voilà! You’ve acquired a fully functional Mega Buster.
[Source]