Tech
How To Use Your MacBook’s Built-In Backup Tool Instead Of Paying For Cloud Storage

Apple’s Time Machine tool removes the need to store everything online.

Modern cloud storage, the way we know it, has been around commercially since 2006, when Amazon launched its Simple Storage Service (S3). In the following years, personal cloud storage rose in popularity thanks to services like Dropbox and Google Drive. Back then, the idea of being able to access a few of your most important files on any computer felt remarkably convenient. Nowadays, cloud storage has become more of a necessity, often requiring a subscription if you want to store more than a few gigabytes.
Apple’s iCloud notoriously only offers 5GB of storage for free. In addition to backing up your photos and videos, you’re somehow supposed to accommodate device backups from your iPhone, iPad and Mac. Although the 50GB monthly subscription may not seem costly at $0.99, that amount of cloud storage isn’t really sufficient if you also want to transfer large amounts of files stored on your computer.
If you’re searching for a backup option and don’t necessarily need your computer’s files accessible from the cloud, you don’t need to look beyond what macOS has to offer.
Time Machine is a utility that’s been available on the Mac for years. It lets you create a local backup of your apps, photos, videos and other documents and transfer them to an external hard drive or SSD for safekeeping. It’s normal for the first run to take a while, but subsequent snapshots will be much quicker and can be scheduled to run hourly, daily or weekly.
Setting up a drive for Time Machine
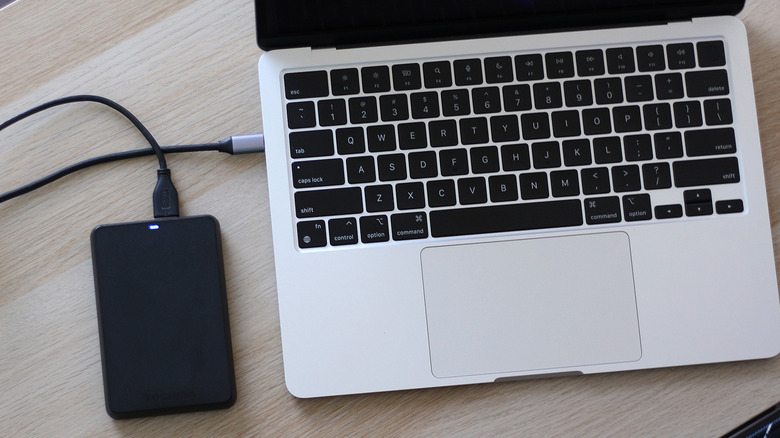
Time Machine doesn’t actually need an external drive to work — it can back up your files to your Mac’s internal drive if you partition it. Using an external drive, though, is the more secure option. Although portable SSDs offer substantially faster file transfers, an older drive you’ve decided to make do with is perfectly fine for the job. In fact, they can be a better fit for long term archival storage since SSDs can lose data if they remain unpowered for a long period.
For Time Machine backups, Apple recommends using an external drive with at least two times the capacity of your Mac’s internal drive. You’ll also need to format it using the APFS file system, which prevents you from natively using the drive with Windows. Even on Mac, the drive will need to be partitioned if you want to store other files besides your computer’s backups, though it’s not recommended that you do.
The first step requires plugging a drive into your Mac. Launch System Settings and navigate to General > Time Machine. Click on Add Backup Disk, select your external drive and click on Set Up Disk. You can choose to encrypt the drive with a password, which you’ll need to keep handy if you choose to restore a snapshot in the future. Click on Done.
If your external drive needs to be formatted to APFS, a prompt will appear that can do so with one click. Once this is complete, your drive will be set up to accommodate Time Machine transfers.
How Time Machine works
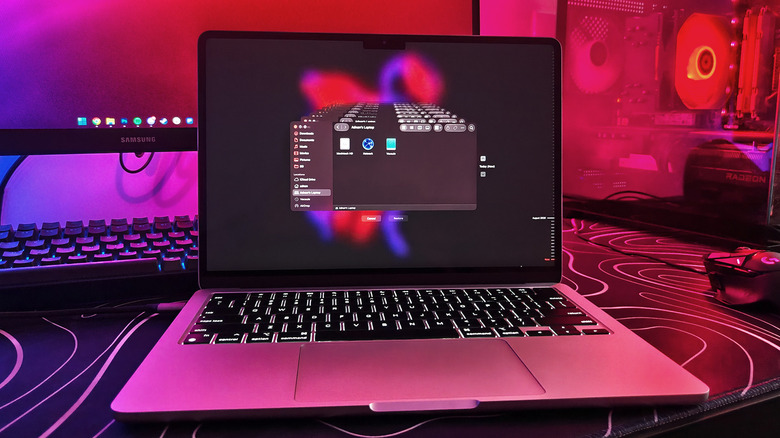
Shortly after you add a drive formatted for Time Machine, your first backup will begin automatically. Depending on how many files you’ve got stored on your Mac, this process can take between a few minutes to over an hour to complete.
When the external drive is unplugged, snapshots are stored locally on your Mac. By default, backups happen on the hour, but you can navigate to System Settings > General > Time Machine > Options and change the backup frequency to daily or weekly. Here, you can also add folders or volumes you wish to exclude from the process.
When you need to restore a file, you can access your Time Machine drive by opening Finder and looking at the Locations section on the left. Click on Enter Time Machine, choose a backup, find your file and click Restore.
How far back can you go with Time Machine?
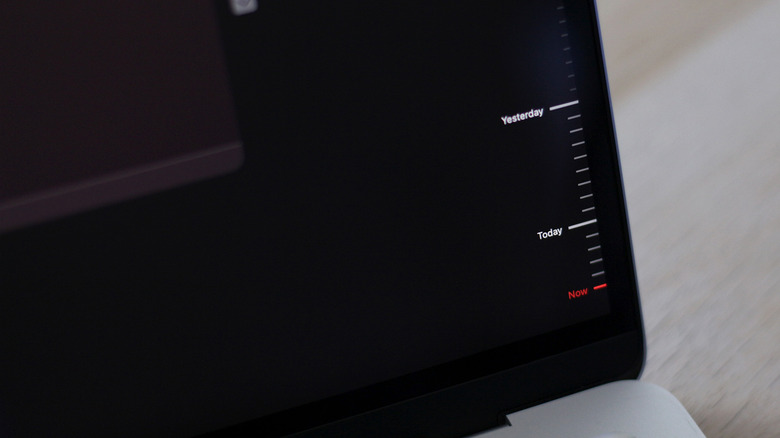
What’s even more impressive about Time Machine is that it stores different versions of the same file as it changes over time. This means you can browse through earlier copies and find the version you’re looking for. When set to back up every hour, Time Machine lets you access hourly restore points from the past 24 hours. Daily backups will span the past month and weekly snapshots will offer points from the months before that.
For instance, if you were working on a document, making changes every couple of hours, you can go back and restore a version from earlier in the day. If a couple of days have gone by, you can still restore the file but you’ll have to locate it within a daily or weekly restore point instead. This is a pretty well thought out system that gives you plenty of options for recovery.
Eventually, though, your external drive will begin to fill up. When this happens, Time Machine will start dropping the oldest weekly backups to make room for new ones.
Besides letting you to restore specific files through Finder, Time Machine lets you restore your entire Mac from a backup. This is particularly useful when an internal drive fails or you’re migrating to a new computer and wish to bring all your files, apps and settings with you.
You must be logged in to post a comment Login