Tech
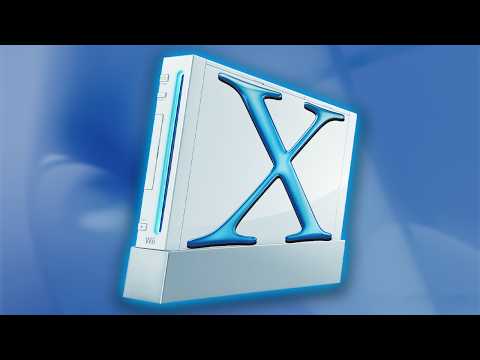
Mac OS X Comes to Life on a Nintendo Wii Console

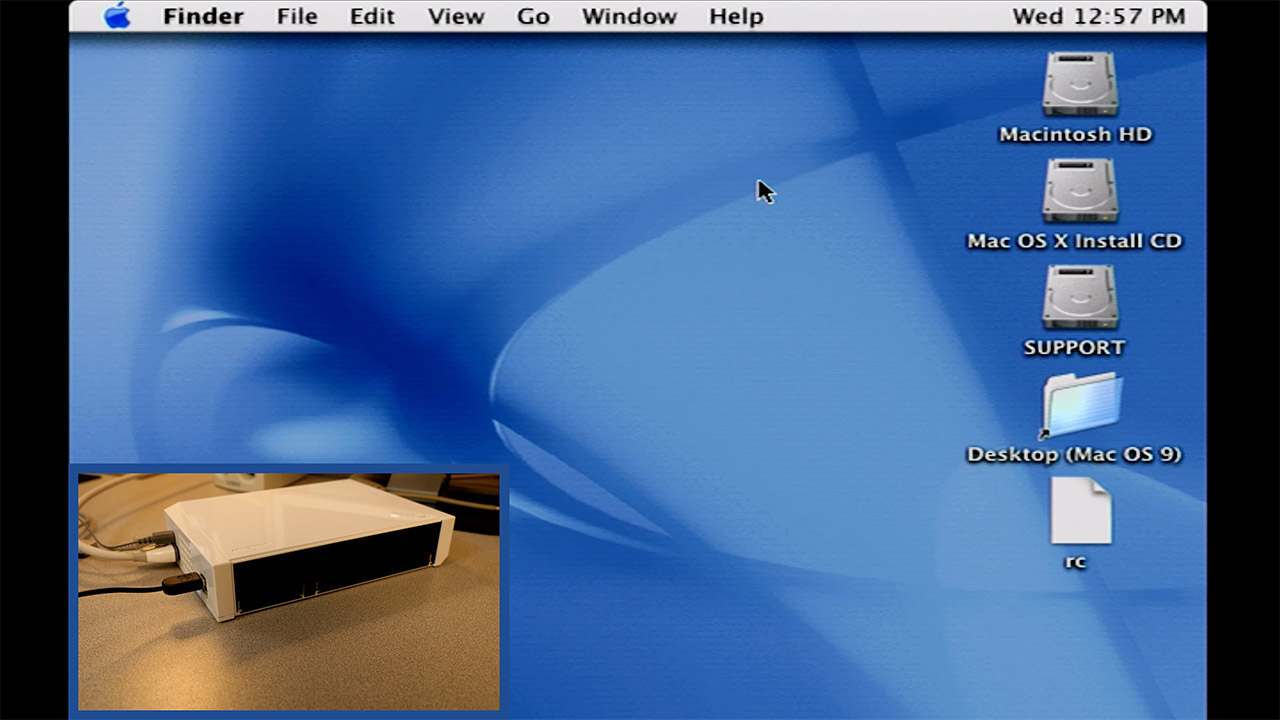
Programmers have managed to cram the original Mac OS X onto a Nintendo Wii from 2006, a piece of hardware that is nearly 20 years old. Bryan Keller, the brains behind this, spent a year and a half developing tools to make it happen through a project called wiiMac. The result lets the Wii boot into Mac OS X 10.0 Cheetah and handle basic tasks even if the experience moves slowly on such limited hardware.

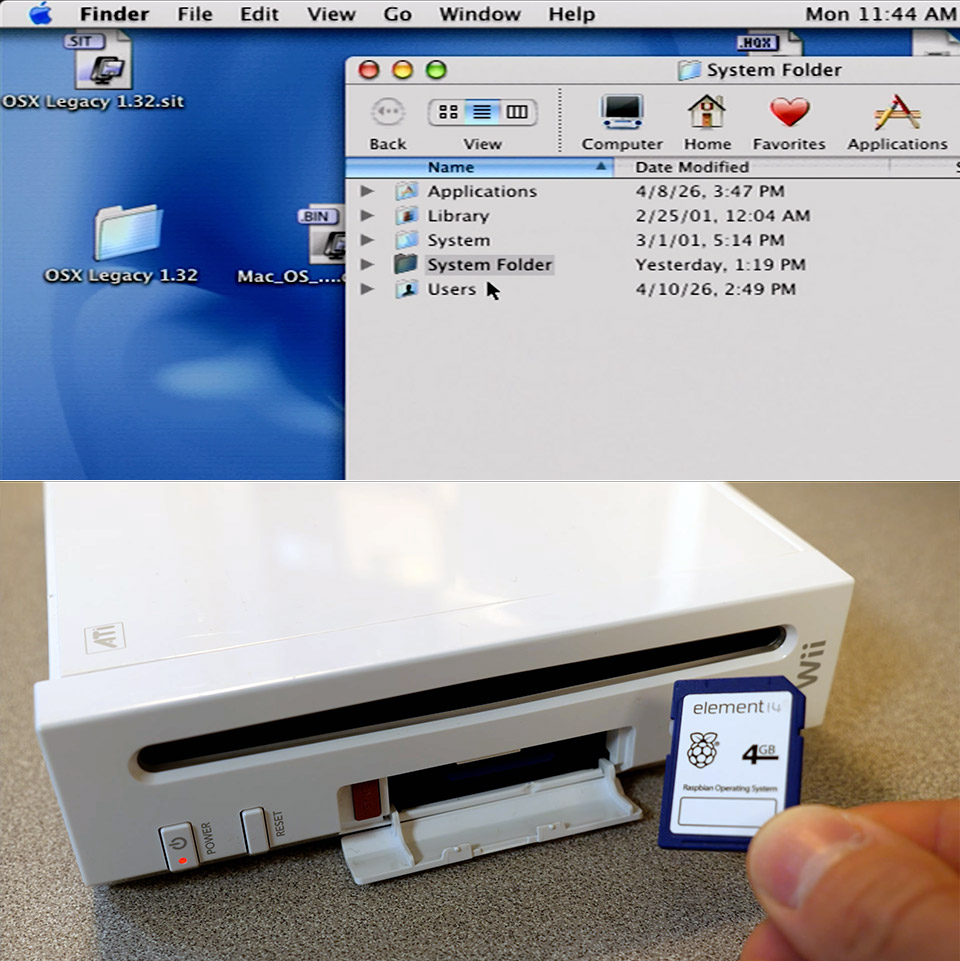
To begin, owners must ensure that their Wii is functioning properly. The SD card slot is required, and the Wii must be running a soft mod with BootMii installed as the second thing to boot, or via an IOS. Unfortunately, the Wii Mini is out of the running because it lacks the essential slot. To get everything up and running, two SD cards are required: one for the BootMii files and the wiiMac bootloader, and the second for the Mac OS X system, which has to be at least 4GB in size.


Apple 2026 MacBook Neo 13-inch Laptop with A18 Pro chip: Built for AI and Apple Intelligence, Liquid…
- HELLO, MACBOOK NEO — Ready for whatever your day brings, MacBook Neo flies through everyday tasks and apps. Choose from four stunning colors in a…
- THE MOST COLORFUL MACBOOK LINEUP EVER — Choose from Silver, Blush, Citrus, or Indigo — each with a color-coordinated keyboard to complete the…
- POWER FOR EVERYDAY TASKS — Ready the moment you open it, MacBook Neo with the A18 Pro chip delivers the performance and AI capabilities you need to…
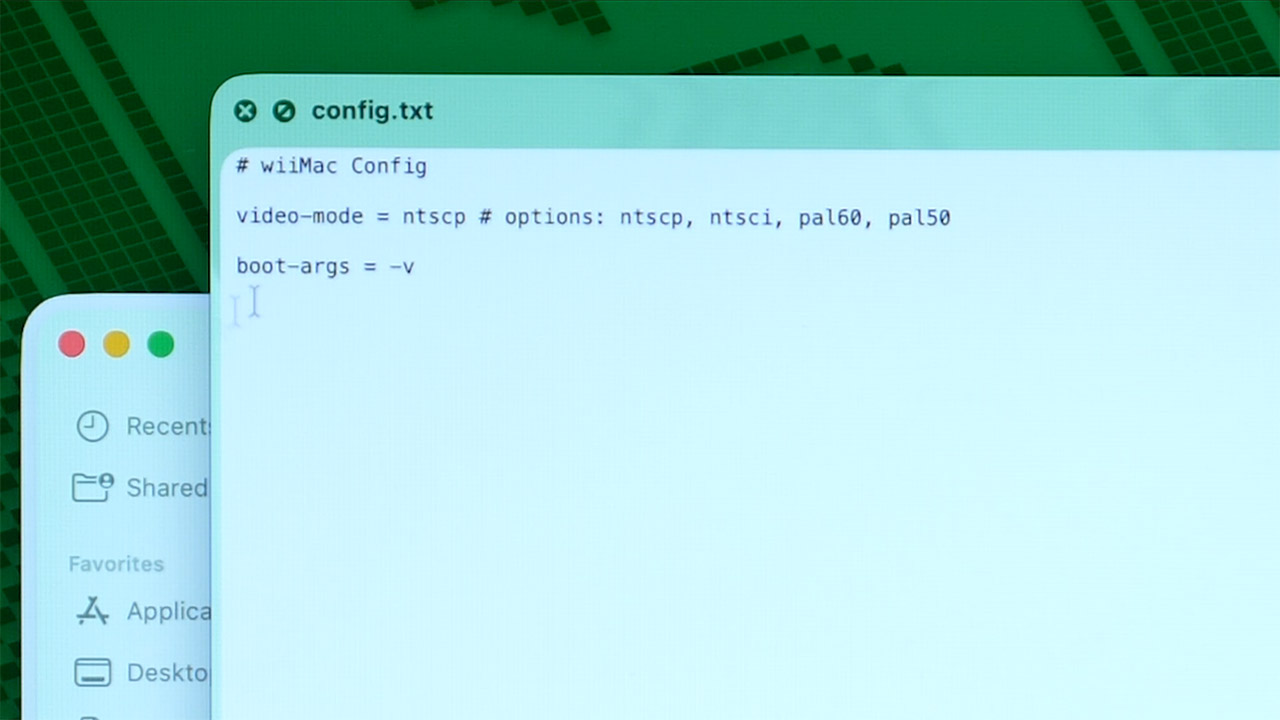
To configure the cards, you will need a spare computer running macOS or Linux. The first card receives a copy of the most recent wiiMac files directly to the root folder, along with the BootMii files, which are almost certainly already present, and there must be a text file inside the wiiMac folder that allows you to select the appropriate video mode for your region, such as NTSC or PAL.

The second card must be partitioned into three smaller and smaller sections: a 64MB FAT32 section labeled Support, a 1GB HFS+ section labeled Install, and a larger HFS+ section labeled Macintosh HD that takes up the remainder of the space, as the commands for doing so will differ slightly depending on the computer you’re using, but the goal is the same. The Install partition is then loaded with a full copy of the Mac OS X 10.0 Cheetah installer, as you’ll need an original disk image to transfer it from, which you can achieve via a block level transfer. Meanwhile, the Support partition receives a folder named wiiMac, which contains a specially patched kernel file as well as a slew of unique drivers designed specifically for Wii hardware.
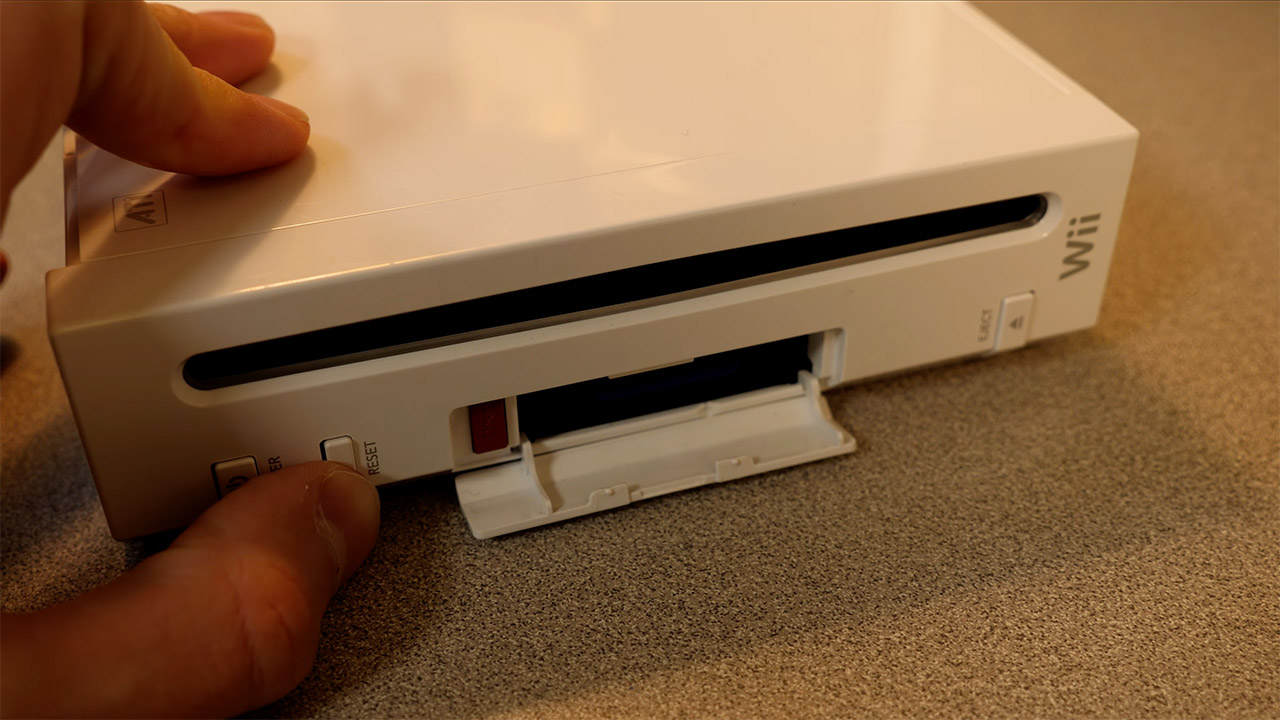
Once the cards are ready, you can transfer them to the Wii. Insert the BootMii card and restart the Wii, which should bring you to the BootMii interface. From there, simply load the wiiMac bootloader and quickly switch the first card for the second, which contains all of the Mac OS X partitions. The bootloader takes over and launches the installer; at this point, you’ll need a simple USB keyboard and mouse plugged directly into the Wii ports, as connecting them via a hub is likely to cause issues. The installer next walks you through selecting the Macintosh HD partition as the location for the system files, and that’s all.
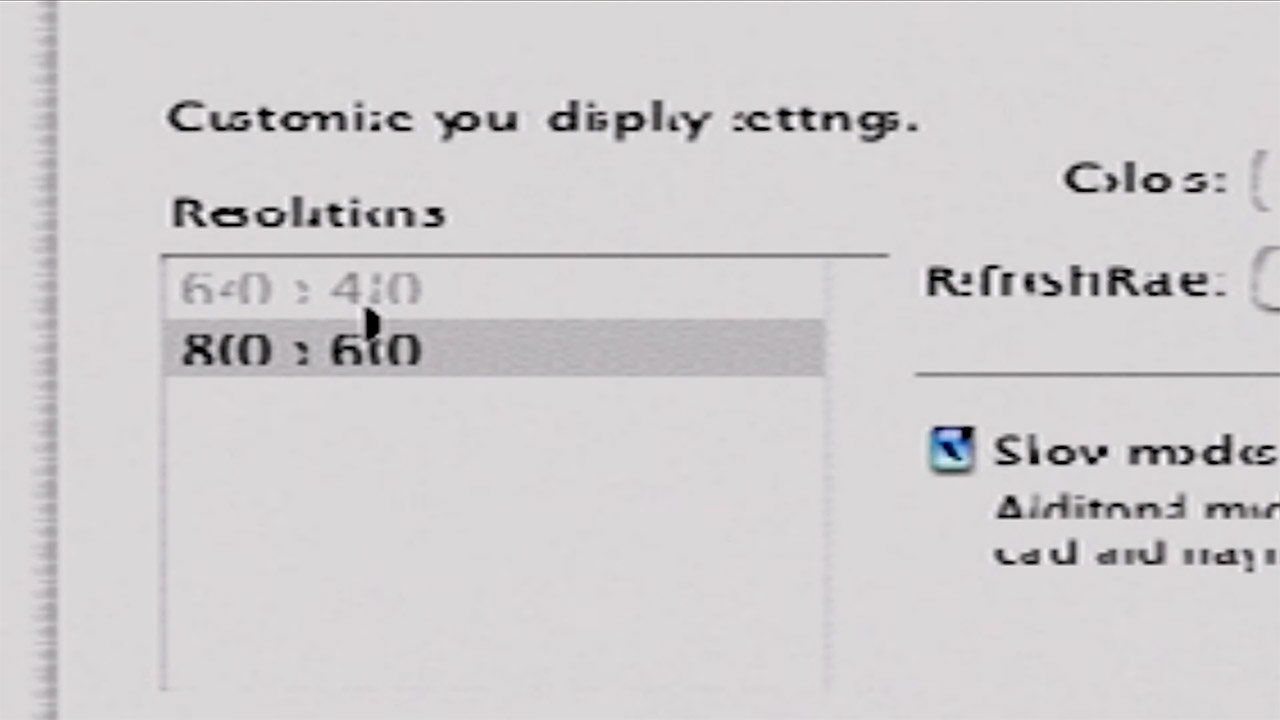
Once the installation is complete, the new operating system will boot. To get the newly loaded Mac OS X up and running, you must perform the same old card switch and bootloader dance. At this point, you’ll probably notice that the screen resolution is looking a little stretched out, so you’ll need to head directly to System Preferences and adjust it to a more reasonable 640×480 for readability. The next thing you do is run a few terminal commands to adjust the swap file size and compress the Dock down to size in order to squeeze out some more speed from the Wii’s not-so-modern 78 MB of useable RAM and 729 MHz processor. If you plug in a USB storage drive before starting the machine, it should connect OK, but don’t expect it to be reliable.
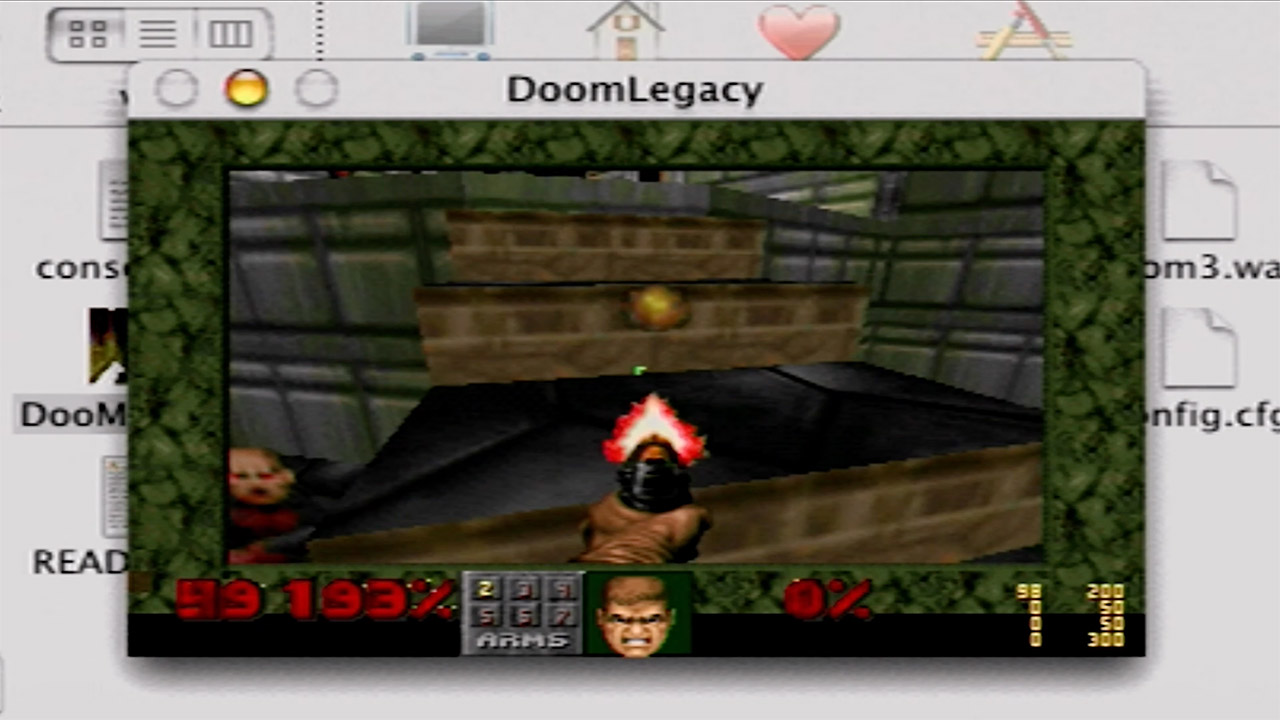
Performance is about what you’d expect: not exactly blistering speeds. The system handles the Finder and the fundamentals well, but Wi Fi, Bluetooth, the DVD drive, and any type of graphics or audio acceleration are all unsupported. The Classic environment is useful for running older Mac OS 9 software, but expect a slight lag. There is one small bright side, however: when you start the DOOM port, it runs nicely and even outperforms certain older Mac installations in certain scenarios.
You must be logged in to post a comment Login