Tech
Restoring Apple’s Power Macintosh 7200 That History Called a Failure Brings Some Needed Beige Box Redemption

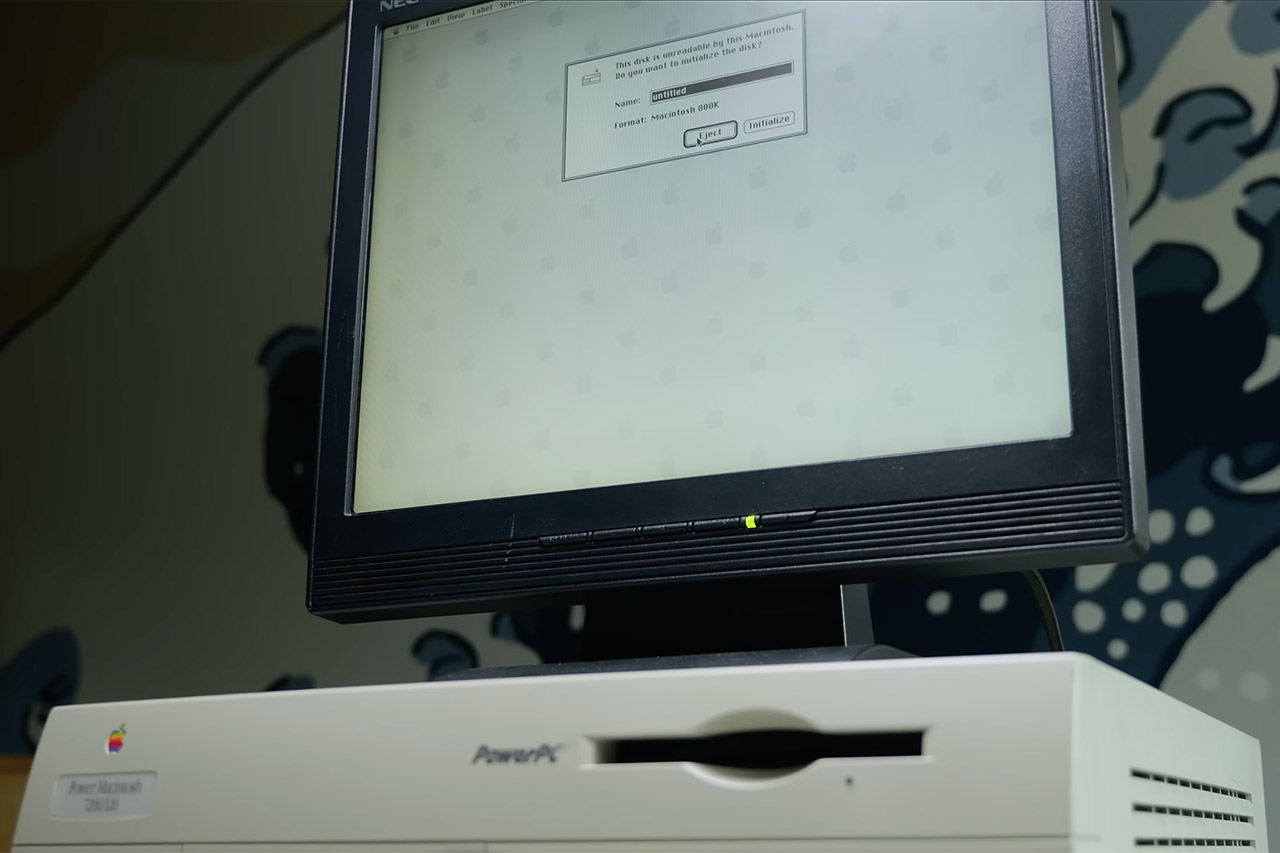
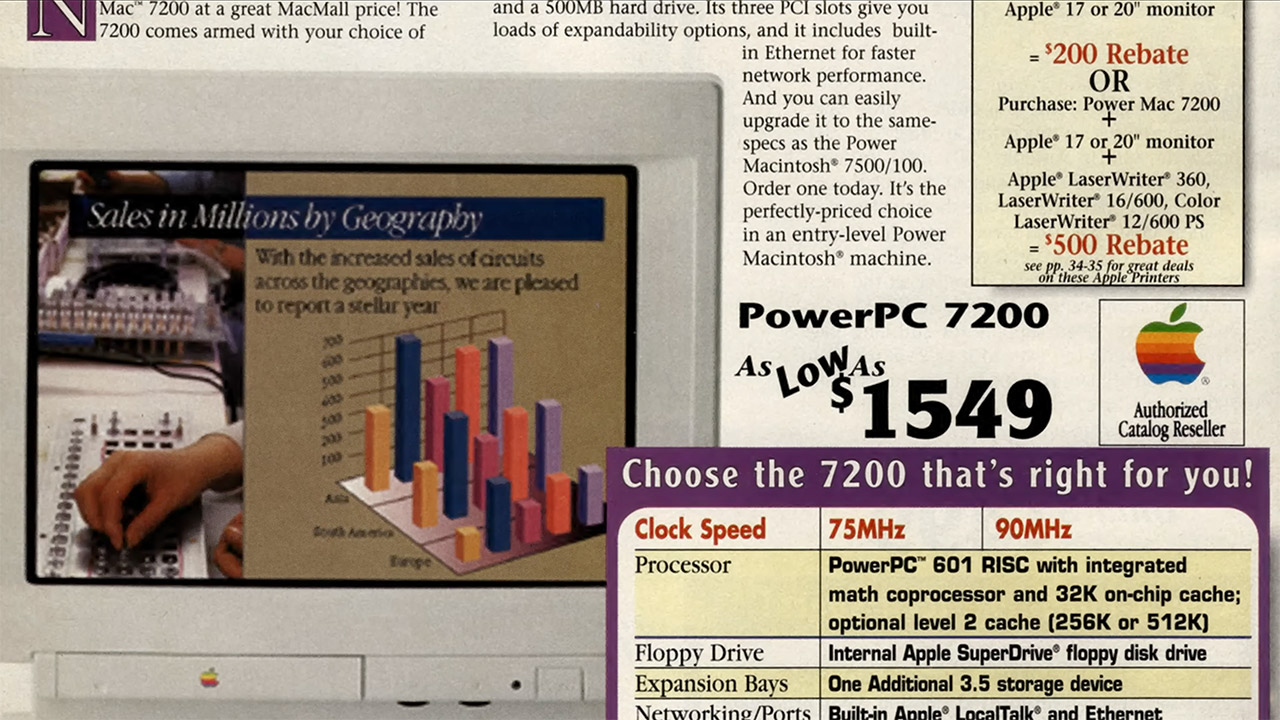
Apple released the Power Macintosh 7200 in August 1995 as its new entry-level professional machine. Priced around $1,700 for the base 75 MHz model, it arrived during a rough stretch for the company. Leadership changes, intense competition from Windows 95 PCs, and the messy early days of the PowerPC transition left many products looking compromised. The 7200 shared its “Outrigger” case with the higher-end 7500. It brought three PCI slots to the lower end of the lineup for the first time and offered built-in Ethernet with both 10BASE-T and AAUI ports.


The PowerPC 601 CPU remained locked on the board, as Apple had promised a low-cost motherboard upgrade path that was always late and ultimately out of reach for anyone on a tight budget. The memory and cache buses were narrower than in a comparable system. Almost every early review and later collector roundup of these computers referred to the series as a “Road Apple,” implying that it was a second-rate Mac that never reached its full potential.
Sale


Bambu Lab A1 3D Printer, Support Multi-Color 3D Printing, High Speed & Precision, Full-Auto Calibration…
- High-Speed Precision: Experience unparalleled speed and precision with the Bambu Lab A1 3D Printer. With an impressive acceleration of 10,000 mm/s…
- Multi-Color Printing with AMS lite: Unlock your creativity with vibrant and multi-colored 3D prints. The Bambu Lab A1 3D printers make multi-color…
- Full-Auto Calibration: Say goodbye to manual calibration hassles. The A1 3D printer takes care of all the calibration processes automatically…
Thirty years later, one restorer known as “This Does Not Compute” obtained one of these ancient machines to see if the old legends about it were real. That video of a 120 MHz model shows a system that has somehow survived all these years, with its original Quantum Fireball 1.2 GB SCSI drive still spinning. Surface dust had accumulated throughout the area, necessitating a thorough cleaning. The plastic parts that used to hold the casing together in one piece have grown so brittle that even handling them risks snapping them. The power button hinge had already failed, and attempting to remove the drive using a CD-ROM sled latch proved disastrous, as it snapped the first time.
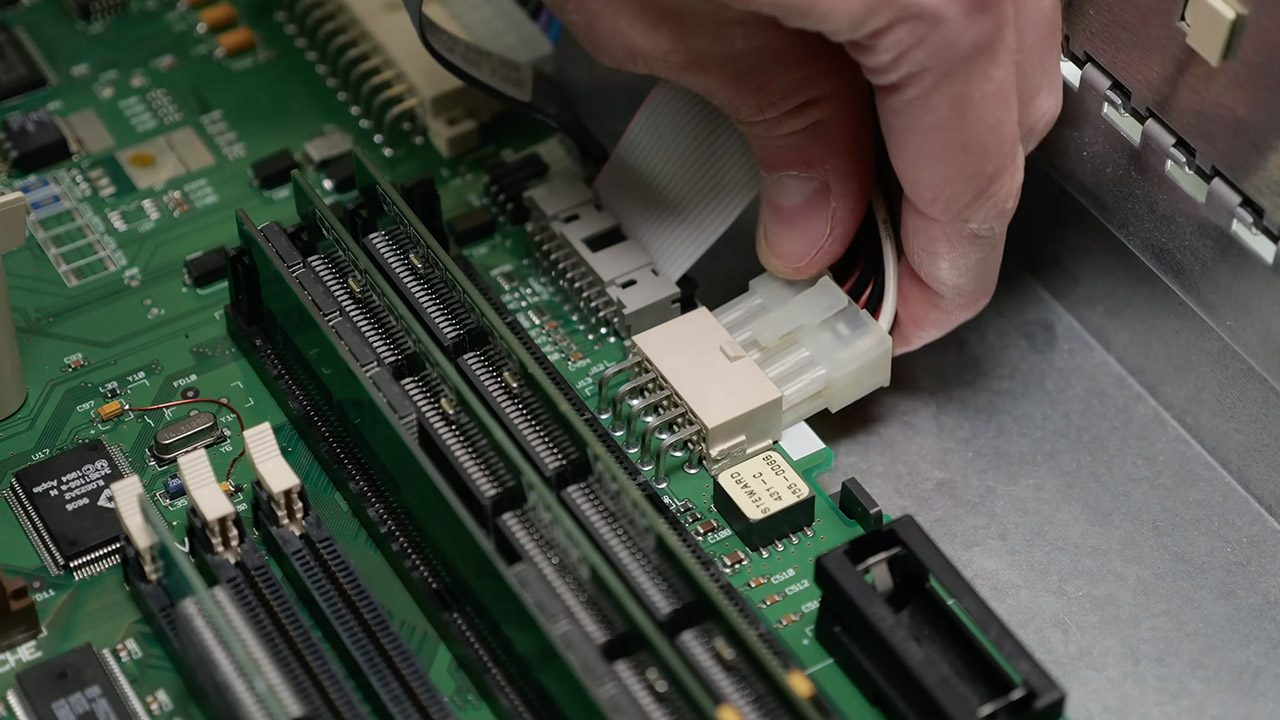
The original battery in the PRAM had long gone vanished, which was a smart decision given the dangers of leaking batteries. There are no clear indicators of this happening, at least not at first inspection, but the surface-mount capacitors near the CPU heat sink are in a position that renders a catastrophic failure almost certain in the future. Disassembling it began with some care to maintain the fragile plastic feet, with a tape measure pushed up on one side as the hinged base slid open, allowing access to all of the internal components underneath. A single screw and a handful of clips were used to release the logic board, which slipped out and then lifted free. A gentle brush was used to remove some dust before carefully peeling off the passive heat sink that rested on top of the PowerPC 601. The old thermal compound appeared to have entirely dried up and was no longer doing its job. He also applied some fresh Arctic MX4 underneath it before reinstalling the sink.

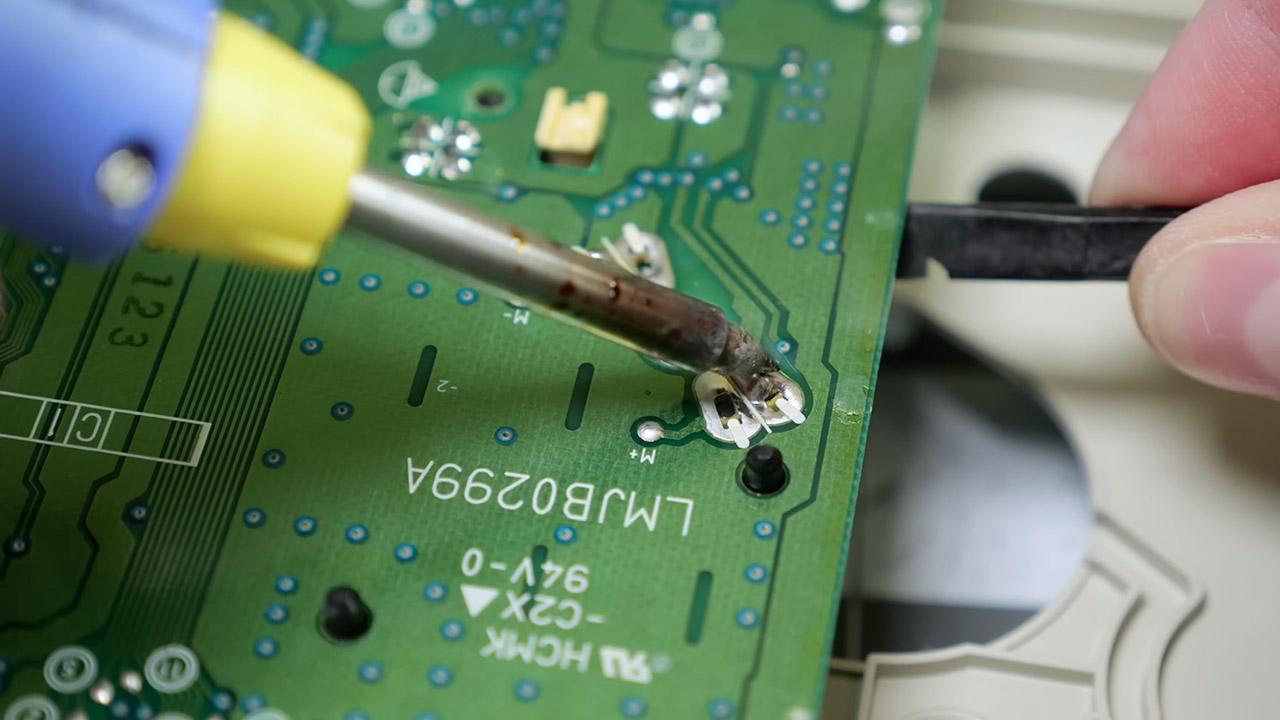
Following that, each and every surface mount part was clipped right off the board, leaving just short leads, and the pads were cleaned with flux and desoldering braid. New Tantalum replacements were installed due to their lower likelihood of leakage, however one of the ground pads lifted during the operation, posing an issue. A short bodge wire solved the problem for us. A small amount of electrolyte residue was discovered under one of the old cans, confirming that he had completed the task on time. Next, a 256 KB Level 2 cache card and an additional 1 MB VRAM module were inserted into their respective sockets. The original single-stick 16 MB RAM chips were replaced by a pair of matching 16 MB 5-volt EDO DIMMs, totaling 48 MB. To replace the missing PRAM cell, a new CR2032 adaptor was used.
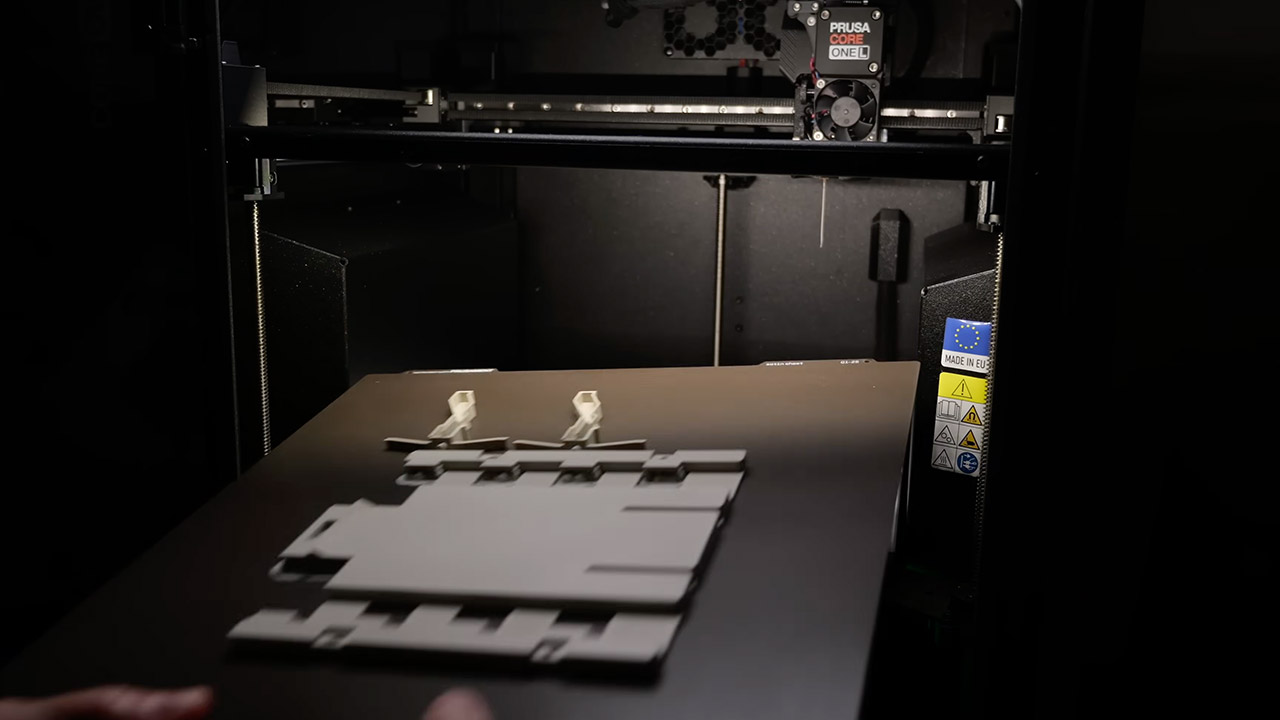
Case repairs necessitated the use of a 3D printer, and a new CD-ROM sled was the ideal match for the original geometry, fitting perfectly into place after we cleaned the Panasonic 4x drive and checked its through-holes for faulty capacitors. The power button had a replacement body printed up, and he just placed the original plastic face back on with hot glue. He also needed special enclosures for the external SCSI and video adapters, which would otherwise be blocked by the case lip. We got things resolved, which was a huge relief because we didn’t want another problem. Fortunately, a BlueSCSI unit provided him with a dependable modern method of reading from storage, despite the fact that the old Quantum drive is still working perfectly for testing.
It won’t blow the doors off in terms of speed, but that isn’t the point. The CPU is stuck in place, and the bus width is limited, but based on how the restored device looks and what it can perform, it is not truly “broken” or “hopeless.” It starts up well, runs old software, accepts contemporary SCSI replacements, and even provides him with a workable desktop to play with, none of which are to be taken lightly. Still, the one remaining concern is the possibility of the casing cracking, which is a common problem with any mid-90s Apple case, but with a little capacitor adjustment and careful handling, he should be fine.
You must be logged in to post a comment Login