Tech
This Twenty-Dollar Maclock Clock Boots the Real Macintosh Desktop

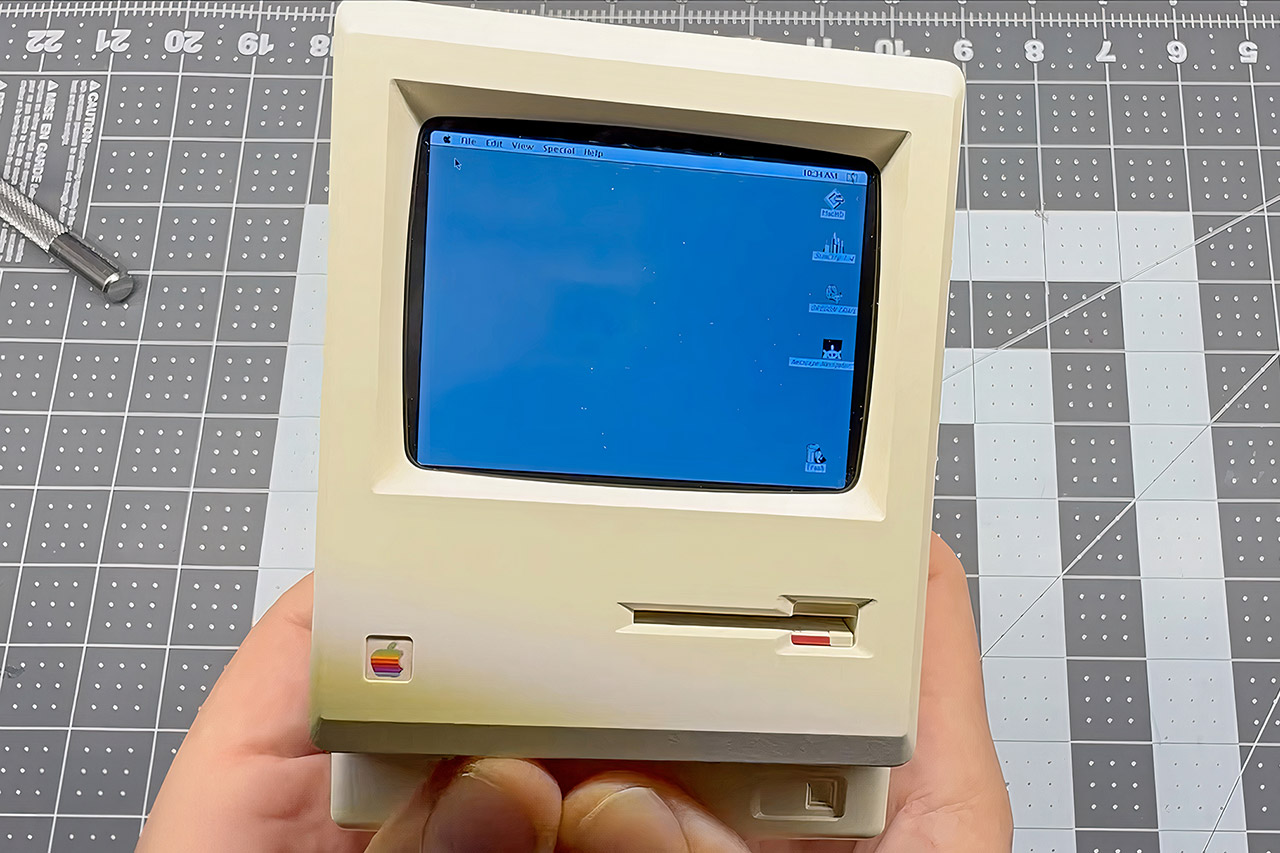
Plenty of people scroll past cheap desk gadgets online without a second thought. One particular alarm clock shaped like the original 1984 Macintosh caught the eye of builder Wells Riley. Sold on AliExpress for around twenty dollars, the Maclock looks shockingly close to the real thing from the outside, complete with the distinctive beige case, floppy disk slot detail, and even a small screen area. Inside, though, it held nothing more than basic clock circuitry and a speaker for alarms.


First, he decided to strip out the components and replace them with parts capable of running genuine Classic Mac OS software, resulting in a tiny little gadget that yet provides a rather accurate retro computer experience. Every original button still works, the brightness knob really adjusts the display, the speaker plays the startup bells and system noises, and the entire thing can be powered by a battery. Of course, no external monitor or keyboard is required to get started, but if you do want to connect to something, use the USB ports.
Sale


Dralaw Maclock Retro Pixel Alarm Clock, 1984 Computer-Inspired USB Desk Clock with Pixel Display…
- 【Retro 1984 PC Design】 This miniature ivory-colored ABS/PMMA alarm clock revives the charm of the early computer era. A perfect nostalgic piece…
- 【Multi-Mode Pixel Display】 The high-contrast LCD simultaneously displays time, calendar, date, and room temperature. A hidden pixel smiley…
- 【Adjustable Brightness for Comfort】 Gentle, warm backlighting in the morning and dim lighting at night protect your sleep. Simple bottom dial…
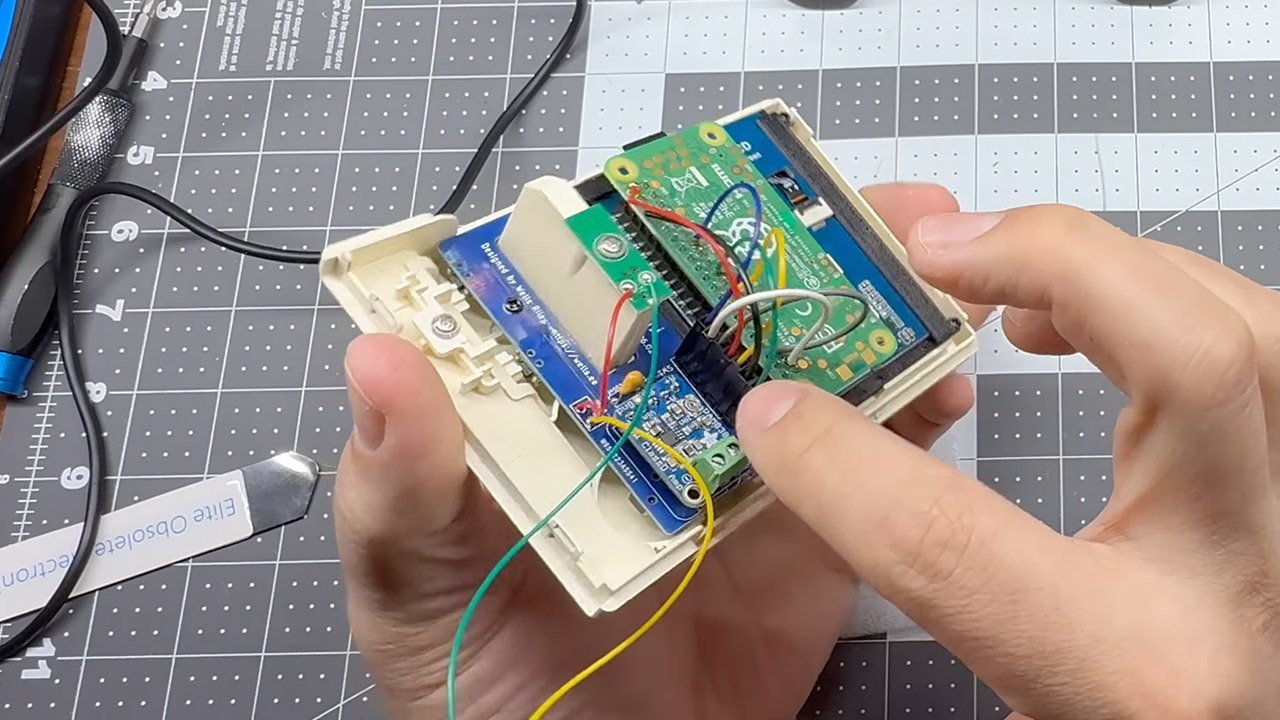
Core hardware choices made the tight fit possible. A Raspberry Pi Zero 2W provides the processing power in a board small enough to hide inside the four-inch-tall case. A Waveshare 2.8-inch IPS LCD replaces the original clock face and delivers crisp pixels at a resolution suitable for the era’s software. To make the screen sit flush behind the curved plastic lens, Riley designed and 3D-printed a custom bezel that adapts the display perfectly to the Maclock’s contours. Without that printed part, the modern panel would sit too deep or sit crooked.
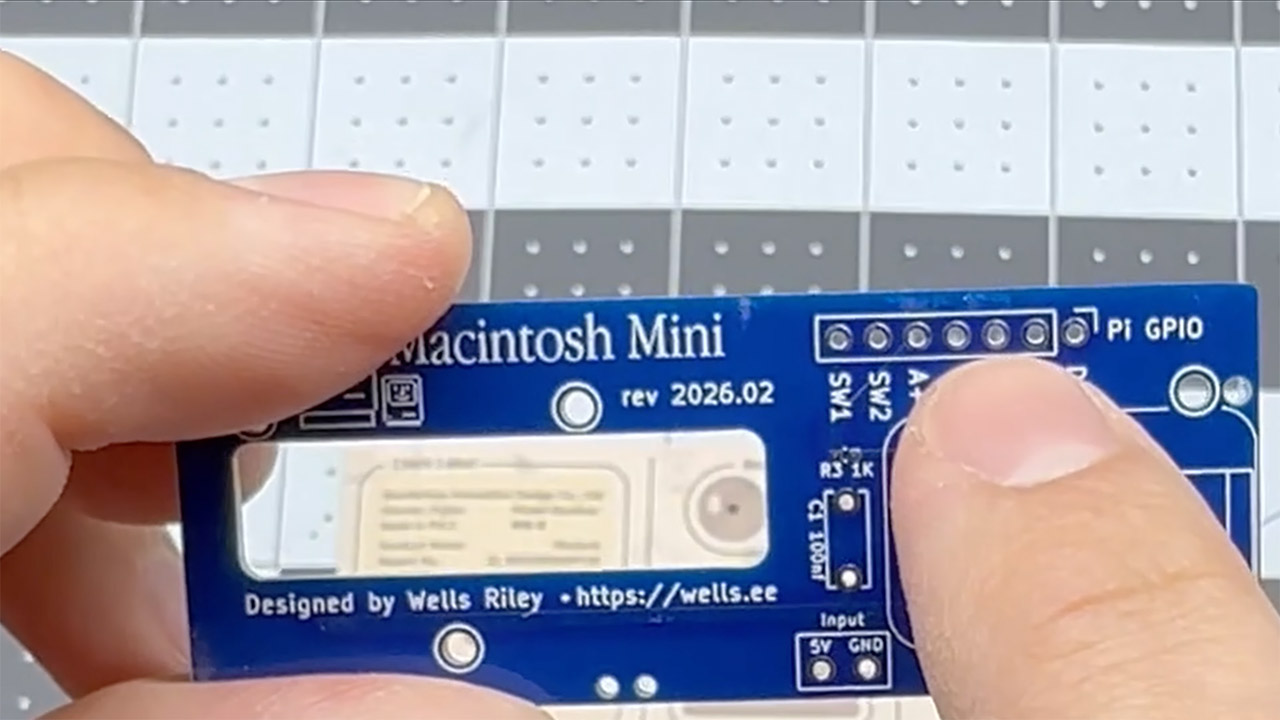
Wiring it all together required additional equipment. Riley created an open-source breakout board called the Macintosh Mini PCB. It may be obtained from sites such as PCBWay, and there is even a shared URL in the project files that anyone can use if they so desire. The board manages the connections for the buttons, the brightness dial, audio output via a small amp, and power. It also has an area where you may bend or remove specific pins on the Pi so that they do not interfere with the screen. The guidelines also provide a basic wiring table that shows you which pins on the breakout board connect to which on the Pi, making the entire soldering procedure much easier even if you’re new to it.

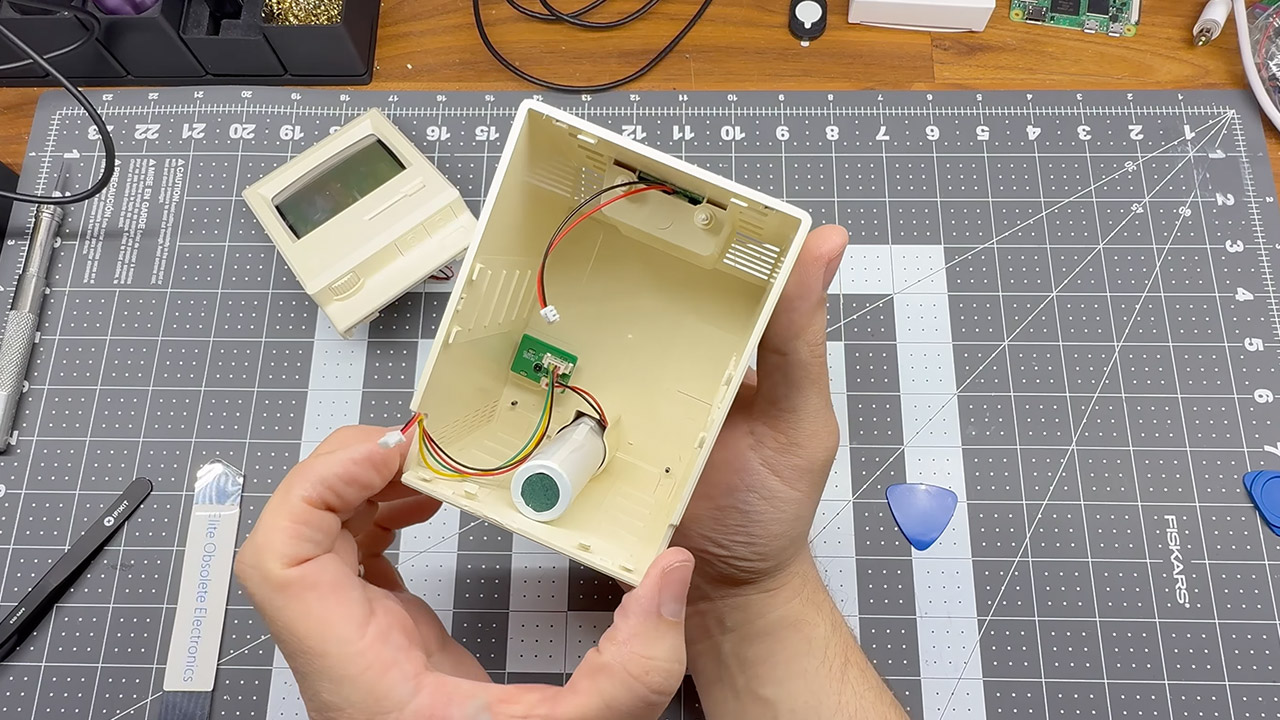
Assembly is actually a rather simple process. First, you disassemble the Maclock, which means detaching the base and exterior case. You will need to remove all of the original circuitry. Now it’s time to install the 3D-printed bezel and snap it into place. Once completed, the LCD is neatly attached behind it, and the custom PCB is inserted into its allotted location at the bottom. Wires must then be routed to the Pi Zero, which is located in the lower compartment with a small speaker module.
Getting the software up and running is also rather straightforward. Flash a copy of Raspberry Pi OS Lite onto a microSD card and boot up the Pi, and you’re almost done. Next, locate a Classic Mac OS disk image file that ends in.hda (don’t forget to obtain a compatible ROM file) then transfer those data to the card using a proper computer. Now, connect to the Pi from another computer on the network and perform a single command to retrieve a setup script from the GitHub repository. The script will install the SheepShaver emulator, configure the display drivers to work with your Waveshare panel (with a custom overlay that can be changed), start python scripts for handling the buttons and brightness control, and start all of the system services. After rebooting, the device should launch into the Macintosh environment without any problems, including that nice startup chime.
You must be logged in to post a comment Login