


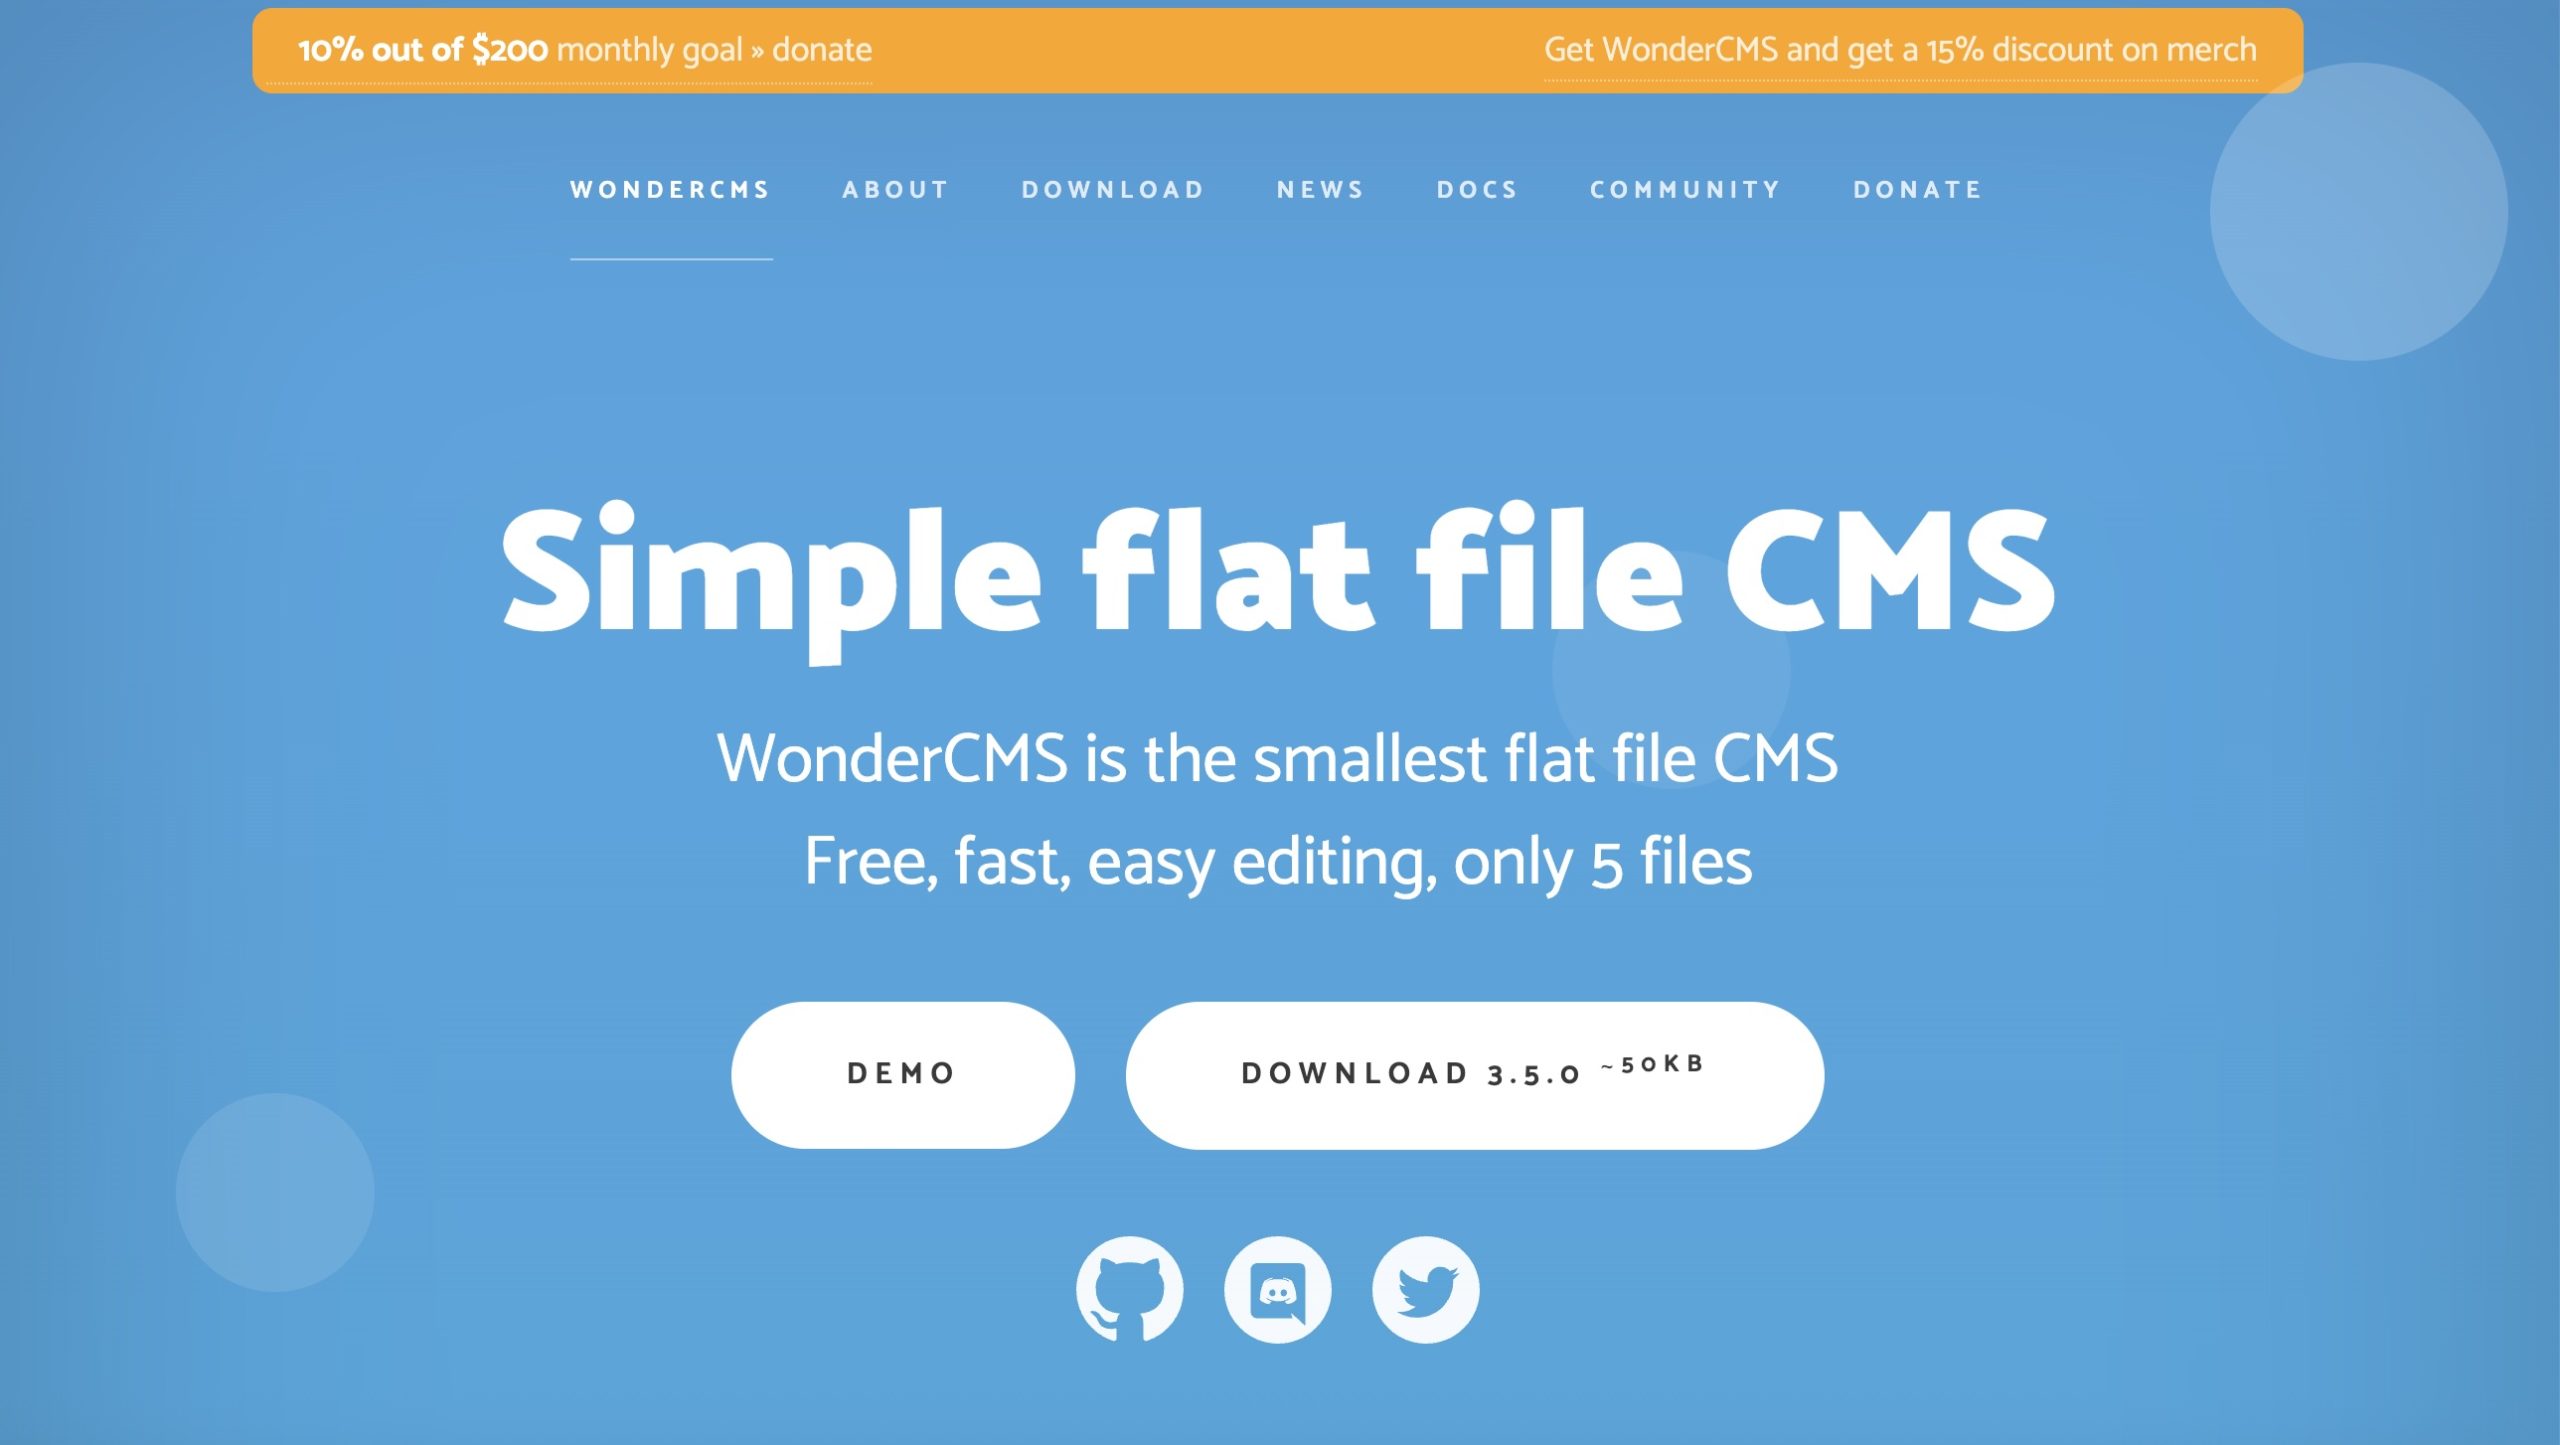
Several Content Management Systems (CMS) are available for businesses, requiring extensive technical knowledge and significant server resources. WonderCMS is an underappreciated alternative. It’s a free, open-source platform that prioritizes speed, simplicity, and efficiency above everything else.
This article examines WonderCMS’s distinctive position in the CMS market through its basic approach and unexpected features. It will show you how to install WonderCMS easily while demonstrating the fast website setup process. The article will also show you why WonderCMS is a robust, small solution that suits experienced developers and new users who want an easy online presence.
What is WonderCMS?
WonderCMS operates through a “flat-file” architectural structure. Unlike WordPress and Drupal platforms, which need MySQL databases, WonderCMS uses simple text files in JSON format to store website content and configuration. The difference between WonderCMS and other systems makes it lightweight because it eliminates database setup, configuration, and maintenance requirements, simplifying website management.
Article continues below
One of the best features of WonderCMS is its lightning-fast deployment process and ability to transfer easily between different environments. A WonderCMS website installation process starts with unzipping a file, which you can then upload to your web server. The system does not require a drawn-out installation process; users do not need to enter database credentials or handle complicated configurations. Developers find the “plug-and-play” system easy to use and efficient, while beginners appreciate its straightforward deployment process. A WonderCMS site backup and migration process becomes as simple as performing file copy and paste operations since the entire site data exists in its file structure. The built-in portability of this system provides both adaptability and comfort for users.
WonderCMS presents a minimalistic design yet still delivers high usability levels. Users can edit content directly through inline editing, which enables them to modify their website front-end without needing to access the backend dashboard. The intuitive “what you see is what you get” (WYSIWYG) editing system provides a simple interface for content updates so users can make changes easily without using the backend dashboard. WonderCMS provides theme support and plugin functionality through its clean interface, showing how developers can maintain both simplicity and expandability in their system.

WonderCMS delivers advantages that reach further than user-friendly operation. The minimal size of WonderCMS (under 50KB zipped) alongside its flat-file architecture leads to outstanding website performance. The use of WonderCMS as a website platform results in fast page loading and efficient performance even when running on constrained shared hosting resources. The speed-focused approach of this system leads to a better user experience and improved search engine optimization (SEO) results. The developers of WonderCMS integrated privacy protection into their system by excluding tracking features and ads, along with unwanted “powered by” links, so users maintain complete control of their website data and external dependencies.
The main use case for WonderCMS applies to basic web projects that require simple websites with fast performance and easy maintenance. The system proves most effective for creating personal blogs, small business websites, and portfolios that require simple CMS functionality. The system provides an excellent solution for the content management needs of users who require fast and secure websites with easy deployment. Still, it does not support complex e-commerce platforms or dynamic applications.
Ways to install WonderCMS
One way to install WonderCMS on your web server is through FTP. However, if you are a Hostinger user, you can use the company’s auto-install feature. As a Hostinger customer, I wondered which way was easier.
Installing WonderCMS through FTP
The traditional or “manual” way to install WonderCMS is to download the necessary files from the WonderCMS website and upload them to your server through FTP. To get started, download the latest WonderCMS installation package and unzip it. It will create a file called “wonderCMS.”
Put these files directly under your “public_html” folder. After you do this, you can find the installation at http://yourwebsite.com/wonderCMS.
After this process, the system automatically creates a database.js configuration, admin password (displayed on the home page), and the default pages and structure.
Installing WonderCMS with Hostinger
Hostinger offers an auto-installer feature that simplifies the installation of a web application, such as WonderCMS. The feature is part of the company’s hPanel.
To get started using the Auto Installer:
- Log in to your Hostinger account on the official Hostinger website.
- From the left-hand menu, click on Websites.
- Next to your account name, click Dashboard.
- In the left-hand menu, go to Websites again and select Auto Installer.
- Under the “Other” section, click Select.
- From the dropdown menu, choose WonderCMS.
- Click Select.
A pop-up window will appear to configure your WonderCMS installation. To keep it separate from your main site, it’s recommended that you install WonderCMS in a subdirectory of your website (e.g., `yourdomain.com/wonderCMS`).
During these next steps, you must assign a Website Title, Administrator Email, Administrator Username, and Administrator Password at the top of the pop-up window.
Next, click Advanced, then:
In the Enter Subdirectory box, type the name you want for your subdirectory (e.g., `wonderCMS`, `CMS`, `wonder`).
Ensure “Create new database” is selected, then assign a strong password for this new database.
Unlike other software applications, WonderCMS doesn’t require a database. However, you still need to establish a subdirectory to separate WonderCMS from your main website content.

You can begin setting it up once WonderCMS is installed through the Hostinger auto-install feature. These steps are slightly different than the ones for a manual installation.
To get started, go into the WonderCMS folder when you install your Hostinger. Open the “database.js” in the data folder under WonderCMS. Make note of the information after “login:” That’s where your admin menu will be for your WonderCMS installation.
For example, if the login is “41badb90a5704676/“, the address would be http://yourwebsite.com/wondercms/41badb90a5704676. From here, you can begin configuring the CMS.
Want to see more? We tested, reviewed, and rated all the best web hosting services.


You must be logged in to post a comment Login