





I put three chicken cooking methods to the test – the winning method produced the juiciest, most tender results.
Chicken is an extraordinarily adaptable ingredient that can serve as the basis for countless recipes, from Marry Me Chicken and Caesar salad to a satisfying Sunday roast. It also performs exceptionally well as a main course in its own right, accompanied by delectable sides such as sautéed cabbage, honey-roasted carrots and creamy mashed potatoes.
Preparing chicken in advance is something I rely on heavily, guaranteeing I always have some on hand for a speedy snack or to throw into sandwiches and salads. While many home cooks gravitate towards chicken thighs for their taste and consistency, chicken breasts are my preferred option.
Numerous people find this specific cut challenging because of how they handle it. There’s no doubt about it – if prepared improperly, chicken breast can become terribly dry and flavourless.
Whenever I cook chicken breasts, I consistently marinate them with two key ingredients and keep a close eye on the timing.
The air fryer has always been my preferred technique, although I hadn’t explored other options until now. With that in mind, I decided to compare the air fryer with pan-frying and oven roasting.
The outcome truly took me by surprise, revealing one approach I appreciated and another I thoroughly loved.
Prior to cooking each chicken breast, I brought them to room temperature before brushing them with olive oil and two tasty seasonings – Nando’s Peri Peri Rub and Aromat.
Since the three chicken breasts were somewhat larger than average, each cooking method needed a marginally longer duration.
Air fryer-cooked chicken
Cooking time: 20 minutes
Preparing chicken in the air fryer is something I genuinely relish, as it’s quick, simple and delivers beautifully moist results. Using this method, there’s no need to preheat the air fryer; I merely positioned the chicken in the basket and configured it to 200C for 20 minutes.
For smaller chicken breasts, I would ordinarily leave it to cook for only 16 to 18 minutes.
To guarantee it is fully cooked, I like to use a meat thermometer to verify the internal temperature has achieved 74C.
One significant disadvantage to this method is the restricted capacity of the air fryer, making it challenging to cook more than a couple of chicken breasts at once.
After cooking, I removed the chicken from the basket and let it rest for five minutes. This helps the meat retain more moisture and flavour than cutting it immediately.
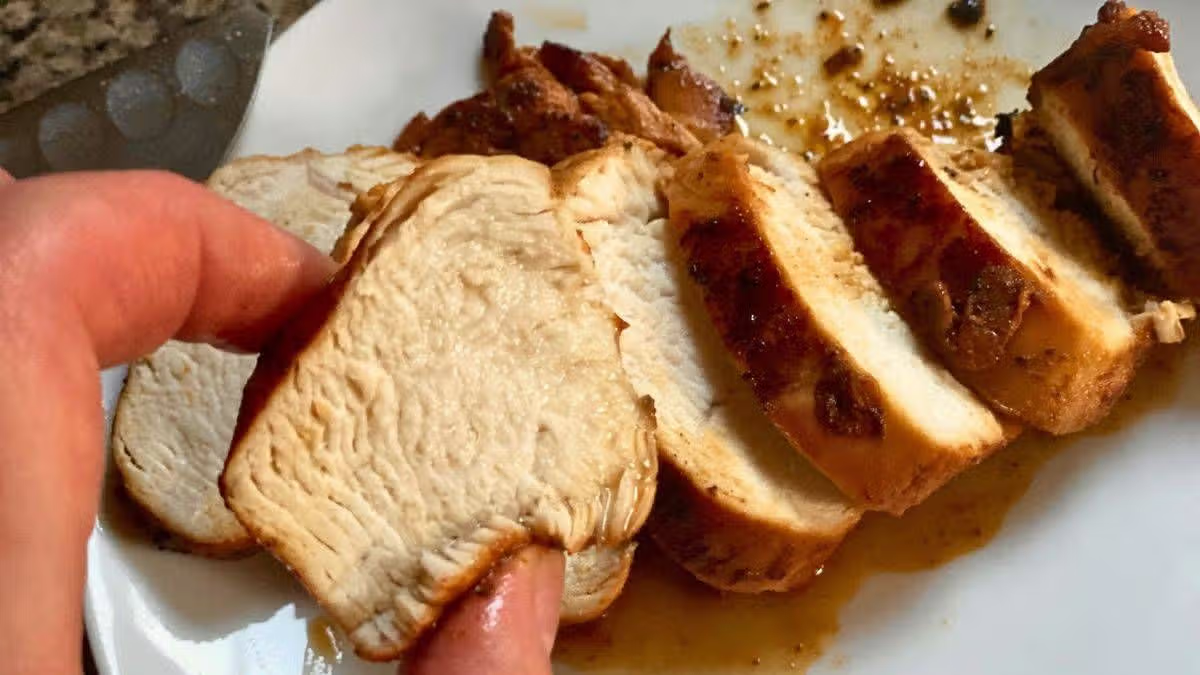
The chicken had a pleasant, consistent colour throughout; it was evenly cooked, and when sliced open, the interior was wonderfully juicy.
Rating: 8.5/10
Oven-cooked chicken
Cooking time: 30 minutes
I’ve traditionally associated oven-cooked chicken breasts with being dry, but this belief was completely overturned after trying this technique.
The main disadvantage of this method is the time needed to preheat the oven and cook the chicken, although the results were quite impressive. I preheated the oven to 200C Fan and left the chicken inside for 20 minutes before checking on its progress, though it needed an additional 10 minutes.
The steady heat of the oven allowed the chicken to cook gradually and evenly, ensuring it remained moist and tender throughout. Following cooking, I let it rest for five minutes before slicing.
It didn’t gain much colour during baking, which left the chicken appearing quite pale. Despite the absence of colour, the sliced chicken breast proved to be beautifully moist.
Without the attractive golden-brown exterior, the baked chicken breasts had limited visual appeal and were slightly lacking in flavour. Consequently, it wouldn’t shine as a centrepiece on the dinner plate, although baking remains a perfectly suitable method for meal-prepping chicken breasts to incorporate into other dishes.
Rating: 7.5/10
Pan-fried chicken
Cooking time: 10 minutes
I tackled this method with some apprehension, fully aware that chicken can easily stick to the pan when cooked at high temperatures.
To pan-fry the chicken, I started by coating the pan with oil before searing the meat on a high heat, then covering it with a lid for two minutes.
I then flipped the chicken over and left it to cook for another two minutes, before adding some water to the pan and replacing the lid for five minutes on a medium-low heat. Just as with the earlier two approaches, I allowed the chicken to rest on a plate for five minutes before slicing it open.
Cooking the chicken over direct heat delivered a beautifully golden-brown crust on both sides. Nevertheless, as the heat stays constant and focused at the surface, the exterior became slightly overdone before the interior reached the proper temperature.
This led to a notably succulent centre but a somewhat firm outer layer, which wasn’t especially unpleasant.
This approach produced the most tender and moist chicken of all the techniques tried, with the sole disadvantage being that the pan was left severely burnt afterwards, demanding substantial time and effort to scrub clean.















































You must be logged in to post a comment Login