

Previously, I looked at using the Linux video loopback system from the command line. The basic trick was simple enough: capture video from a real camera, process it with something like ffmpeg, and write the result to a fake camera device via the v4l2loopback device. Then a browser, or any camera-enabled software, sees the fake camera as if it were real. This allows you to manipulate video before sending it to the rest of the world.
That works, and for those of us who like command lines, it’s easy enough to execute. But not everyone loves the command line. In the comments, there was another obvious answer: use OBS Studio.
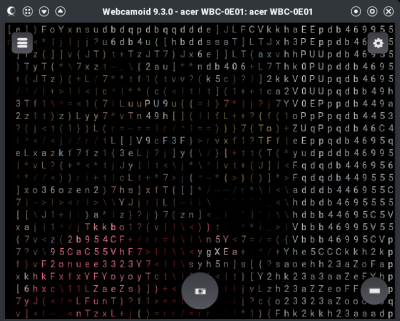
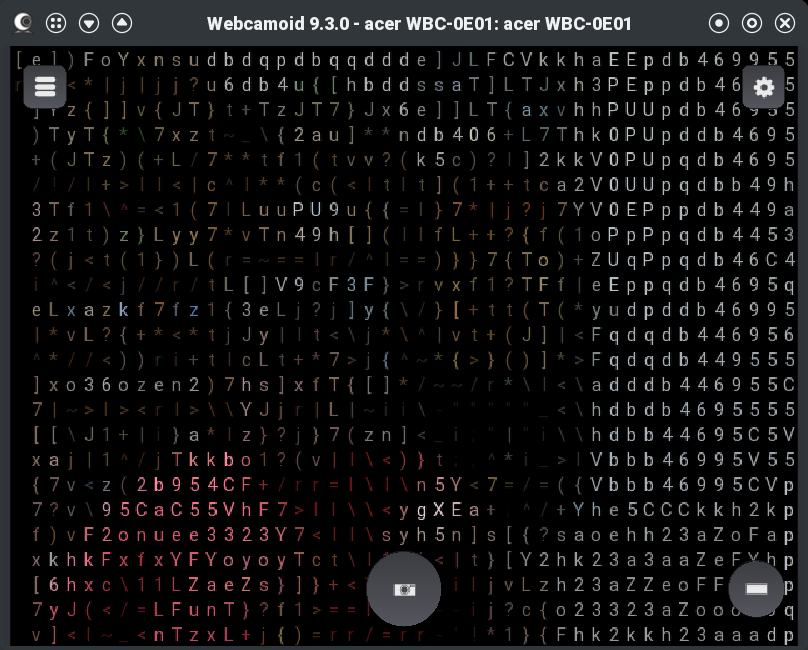
While OBS is excellent, it is also a bit like using a laser to chop a carrot. If you already use OBS, fine. If you only want to crop a webcam, add an effect, mirror an image, or feed a virtual camera, it can feel like a lot. If you must have a GUI, you can try Webcamoid, which sits somewhere between a simple webcam viewer and a full video production system.
Webcamoid gives you a GUI for selecting a camera, applying effects, and sending the result to a virtual camera. Conceptually, it is much closer to the command-line loopback setup from the previous post than to OBS. You are still building a pipeline from input camera to output camera, but now you can do much of it with buttons and menus instead of shell commands.
That’s in theory, of course. Implementing Webcamoid turned out to be quite the exercise. Granted, this probably varies depending on where you install software. If your distro has a clean working copy of Webcamoid and its dependencies, good for you. For everyone else, keep reading.
The Moving Parts
There are two pieces to understand. Webcamoid is the GUI application. It captures video, previews it, applies effects, and can write to a virtual camera. You also need a driver to produce the fake or virtual camera. AkVCam is one of the virtual camera drivers that Webcamoid can use on Linux. It can also use v4l2loopback, as we discussed last time. Both approaches create fake /dev/videoX devices, but their configuration models are different.
With v4l2loopback, the typical setup is command-line oriented:
sudo modprobe v4l2loopback video_nr=10 card_label="Virtual Camera" exclusive_caps=1
Then some program writes frames to /dev/video10. For example, ffmpeg can read from a real webcam and write to the virtual one. Of course, if you want a permanent virtual camera, you can make an entry in /etc/modprobe.d.
AkVCam is more structured. Instead of simply creating a generic loopback device, it uses a configuration file that defines one or more virtual cameras, their input/output relationship, and the formats they support. That sounds like more work, and in a way it is. But it also gives you tighter control over what formats the virtual camera advertises. This sometimes matters more than you might expect.
Install, Remove, Install…
The hard part of Linux webcam work is often not getting video — it’s getting every piece of the chain to agree on width, height, frame rate, and pixel format, along with matching each other’s API expectations.
I tried three different ways to install Webcamoid. First, I used the normal OpenSUSE Tumbleweed repos to install the program. It couldn’t find any cameras. My next stop was a Flatpak version. That worked well, but it is deliberately crippled and won’t even try to drive a virtual camera, directing you to install the regular version instead. Then I tried an AppImage. This seemed to work OK, but the virtual camera would never display anything but a black screen.
Note that the version on AppImageHub is old, and the source project requires payment for prebuilt binaries. I didn’t try either of those options.
I tried a lot of things to make it work. My final answer was to use the AppImage, but I had to build my own version of AkvCam from GitHub.
Even then, at first, the video output was highly pixelated. The culprit was AkVCam using the 640×480 RGB format. Upscaling created a blocky mess.
You can see what a device is doing with:
v4l2-ctl -d /dev/video3 --all
In my case, the virtual output reported:
Width/Height : 640/480
Pixel Format : 'RGB3'
scaling_mode : Fast
aspect_ratio_mode : Ignore
That explains it. “Fast” scaling usually means “not pretty,” and 640×480 is not a great starting point for modern video calls.
The fix was to simplify the AkVCam configuration. Instead of giving the virtual camera a long list of supported formats, I configured it with essentially one useful format. For example, if the pipeline is meant to be 1280×720 at 30 fps, make that the format. Do not give every program in the chain an opportunity to negotiate itself down to postage-stamp resolution.
A minimal AkVCam setup generally defines a capture device, an output device, a connection between them, and formats. In the generated config I was using, the output camera had several formats:
cameras\2\type=output
cameras\2\videonr=3
cameras\2\formats=19, 20, 21, 22, 23, 24
The problem was that format 19 was 640×480. The high-resolution formats were present, but not preferred. Reordering the list might help, but for reliability, using only the desired format is even better.
Webcamoid As A GUI Pipeline
Once the virtual camera driver is sane, Webcamoid works well. You select the real camera as the source, apply whatever effects you want, and select the AkVCam virtual camera as the output. The receiving application then sees the virtual camera.
Compared to the command-line approach, Webcamoid makes experimentation easier. Want to flip the image, adjust color, crop, blur, or test silly filters? That is all much easier in a GUI than in an ffmpeg or gstreamer filter chain, although I still don’t mind the command line. There’s not much difference between using Webcamoid as a friendly front end or manipulating the image as we did last time.
However, I would not oversell it. Webcamoid is not OBS. It is not really a scene compositor. If you want multiple live sources — say, a screen capture as the main image and your webcam as picture-in-picture — OBS is the obvious GUI tool. With the command line, you can easily do things like this by calling ffmpeg directly.
That’s a Wrap!
If you want a full production environment, OBS is still the right answer. It handles scenes, multiple sources, transitions, screen capture, overlays, and virtual camera output in a single application. But if you liked the command-line loopback idea and wished it had a friendlier face, Webcamoid plus AkVCam is worth a look. It gives you a GUI for the common case: one camera in, effects applied, one virtual camera out. You just need to fight through the installation and configuration with your specific setup. Hopefully, yours will be easier than mine.
As usual, Linux rewards knowing what is happening under the hood. Webcamoid can make the workflow friendlier, but v4l2-ctl is still your friend, and, at least for some people, you’ll need some Linux Fu to get it all working in harmony.


You must be logged in to post a comment Login